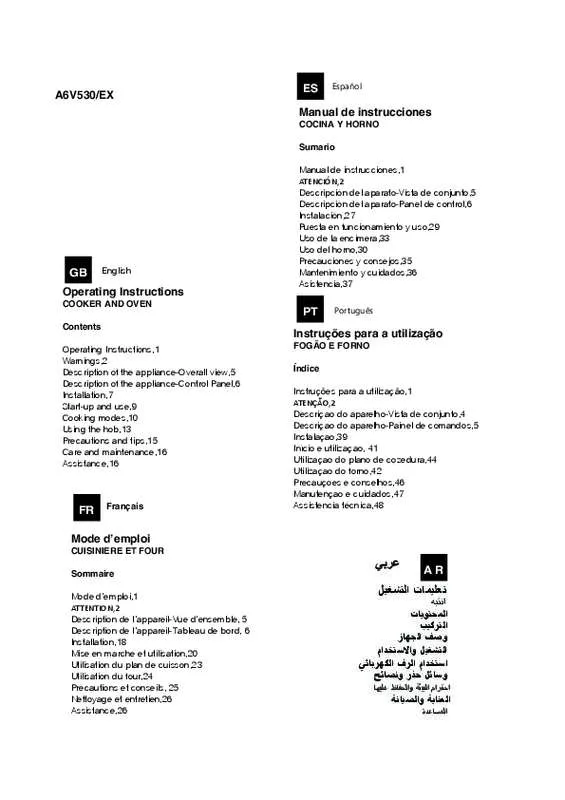
Detailed instructions for use are in the User's Guide.
[. . . ] A6V530/EX
ES
Espaol
Manual de instrucciones
COCINA Y HORNO Sumario Manual de instrucciones, 1 ATENCIN, 2 Descripcin del aparato-Vista de conjunto, 5 Descripcin del aparato-Panel de control, 6 Instalacin, 27 Puesta en funcionamiento y uso, 29 Uso de la encimera, 33 Uso del horno, 30 Precauciones y consejos, 35 Mantenimiento y cuidados, 36 Asistencia, 37
GB
English
Operating Instructions
COOKER AND OVEN Contents Operating Instructions, 1 Warnings, 2 Description of the appliance-Overall view, 5 Description of the appliance-Control Panel, 6 Installation, 7 Start-up and use, 9 Cooking modes, 10 Using the hob, 13 Precautions and tips, 15 Care and maintenance, 16 Assistance, 16
PT
Portugus
Instrues para a utilizao
FOGO E FORNO ndice Instrues para a utilizao, 1 ATENO, 2 Descriao do aparelho-Vista de conjunto, 4 Descriao do aparelho-Painel de comandos, 5 Instalaao, 39 Incio e utilizaao, 41 Utilizaao do plano de cozedura, 44 Utilizaao do forno, 42 Precauoes e conselhos, 46 Manutenao e cuidados, 47 Assistencia tcnica, 48
FR
Franais
Mode d?emploi
CUISINIERE ET FOUR Sommaire Mode d?emploi, 1 ATTENTION, 2 Description de l?appareil-Vue d?ensemble, 5 Description de l?appareil-Tableau de bord, 6 Installation, 18 Mise en marche et utilisation, 20 Utilisation du plan de cuisson, 23 Utilisation du four, 24 Prcautions et conseils, 25 Nettoyage et entretien, 26 Assistance, 26
AR
????????????????
GB
Warnings
FR
ATTENTION
WARNING: The appliance and its accessible parts become hot during use. Care should be taken to avoid touching heating elements. Children less than 8 years of age shall be kept away unless continuously supervised. [. . . ] Circulation of the air throughout the oven. This helps prevent food from burning on the surface and allows the heat to penetrate right into the food. The TOP OVEN, GRILL and GRATIN cooking modes must be performed with the oven door shut. When using the TOP OVEN and GRILL cooking modes, place the rack in position 5 and the dripping pan in position 1 to collect cooking residues (fat and/ or grease). Pull the knob and turn it anticlockwise until you set the correct time. The programmer is electrically powered, therefore in the event of a power shortage, it will stop working for the entire duration of the same. Following this power failure, the correct time will have to be reset. Timer Feature The timer feature allows you to enter a given amount of time from which the timer begins to count down. This feature does not turn the oven on or off; it merely sounds when the time has elapsed. How to set the timer Turn the knob anticlockwise until the marker lines up with the desired time (internal scale), which can be seen in the ?window?. the time countdown will begin immediately. To interrupt the timer buzzer, or to use only the clock feature, set the marker to the ?symbol
12
Using the glass ceramic hob
!The glue applied on the gaskets leaves traces of grease on the glass. Before using the appliance, we recommend you remove these with a special nonabrasive cleaning product. During the first few hours of use there may be a smell of rubber which will disappear very quickly. Use pans with a thick, flat base to ensure that they adhere perfectly to the cooking zone. GB
Switching the cooking zones on and off
To switch on a cooking zone, turn the corresponding knob in a clockwise direction. To switch it off again, turn the knob in an anticlockwise direction until it is in the ?0?If the COOKING ZONE ON indicator light is lit, this shows that at least one pf the cooking zones on the hob is switched on. Always use pans with a diameter that is large enough to cover the hotplate fully, in order to use all the heat produced. cooking zones
The hob is equipped with electric radiant heating elements. [. . . ] Dirt and grease should be removed from the control panel using a non-abrasive sponge or a soft cloth. Stainless steel can be marked by hard water that
has been left on the surface for a long time, or by aggressive detergents that contain phosphorus. We recommend that the steel surfaces are rinsed well then dried thoroughly. Inspecting the oven seals
Check the door seals around the oven regularly. [. . . ]


