Detailed instructions for use are in the User's Guide.
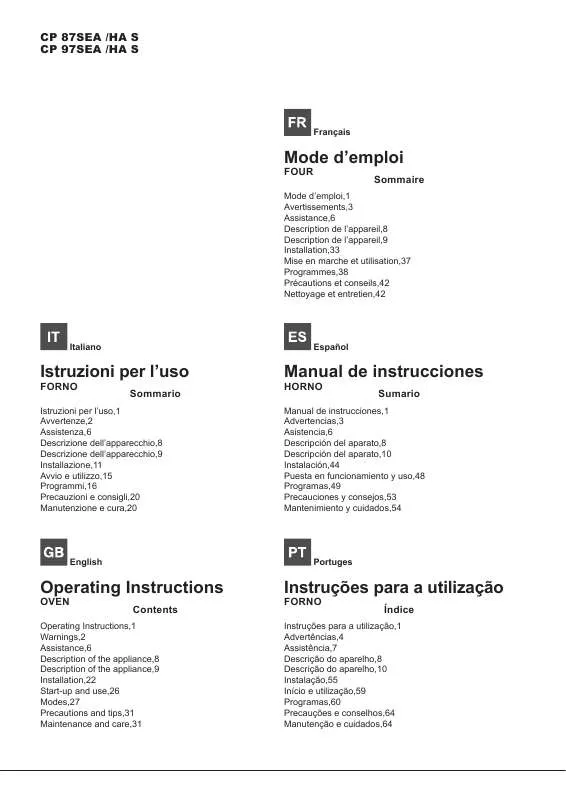
[. . . ] CP 87SEA /HA S CP 97SEA /HA S
Français
Mode d’emploi
FOUR Sommaire
Mode d’emploi, 1 Avertissements, 3 Assistance, 6 Description de l’appareil, 8 Description de l’appareil, 9 Installation, 33 Mise en marche et utilisation, 37 Programmes, 38 Précautions et conseils, 42 Nettoyage et entretien, 42
Italiano
Español
Istruzioni per l’uso
FORNO Sommario
Istruzioni per l’uso, 1 Avvertenze, 2 Assistenza, 6 Descrizione dell’apparecchio, 8 Descrizione dell’apparecchio, 9 Installazione, 11 Avvio e utilizzo, 15 Programmi, 16 Precauzioni e consigli, 20 Manutenzione e cura, 20
Manual de instrucciones
HORNO Sumario
Manual de instrucciones, 1 Advertencias, 3 Asistencia, 6 Descripción del aparato, 8 Descripción del aparato, 10 Instalación, 44 Puesta en funcionamiento y uso, 48 Programas, 49 Precauciones y consejos, 53 Mantenimiento y cuidados, 54
English
Portuges
Operating Instructions
OVEN Contents
Operating Instructions, 1 Warnings, 2 Assistance, 6 Description of the appliance, 8 Description of the appliance, 9 Installation, 22 Start-up and use, 26 Modes, 27 Precautions and tips, 31 Maintenance and care, 31
Instruções para a utilização
FORNO Índice
Instruções para a utilização, 1 Advertências, 4 Assistência, 7 Descrição do aparelho, 8 Descrição do aparelho, 10 Instalação, 55 Início e utilização, 59 Programas, 60 Precauções e conselhos, 64 Manutenção e cuidados, 64
Avvertenze
ATTENZIONE: Questo apparecchio e le sue parti accessibili diventano molto caldi durante l’uso. Warnings
WARNING: The appliance and its accessible parts become hot during use. Care should be taken to avoid touching heating elements. Children less than 8 years of age shall be kept away unless continuously supervised. [. . . ] The clock may be set when the oven is switched off or when it is switched on, provided that a the end time of a cooking cycle has not been programmed previously. Press the button several times until the icon and the first two digits on the display start to flash. Turn the TIMER KNOB towards “ ” and “ ” to adjust the hour value. Press the button again until the other two digits on the DISPLAY begin to flash. Turn the TIMER KNOB towards “ ” and “ ” to adjust the minute value. This function does not interrupt cooking and does not affect the oven; it is simply used to activate the buzzer when the set amount of time has elapsed. Press the button several times until the icon and the three digits on the display begin to flash. Turn the TIMER KNOB towards “ ” and “ ” to adjust the minute value. The display will then show the time as it counts down. When this period of time has elapsed the buzzer will be activated. Before operating the product, remove all plastic film from the sides of the appliance. The first time you use your appliance, heat the empty oven with its door closed at its maximum temperature for at least half and hour. Ensure that the room is well ventilated before switching the oven off and opening the oven door. The appliance may emit a slightly unpleasant odour caused by protective substances used during the manufacturing process burning away. Select the desired cooking mode by turning the SELECTOR knob. All cooking modes have a default cooking temperature which may be adjusted manually between 40°C and 250°C as desired. In the BARBECUE mode, the default power level value is indicated as a percentage (%) And may also be adjusted manually. 27
GB
MULTILEVEL mode All heating elements and the fan are activated. Since the heat remains constant throughout the oven, the air cooks and browns food in a uniform manner. A maximum of two racks may be used at the same time. bARBECUE mode The top heating element is activated. By turning the THERMOSTAT knob, the different power levels which may be set will appear on the DISPLAY; these range between 5% and 100%. [. . . ] As soon as interaction with the machine resumes, the system’s operating mode is restored. Maintenance and care
Switching the appliance off Cleaning the appliance
Disconnect your appliance from the electricity supply before carrying out any work on it. The stainless steel or enamel-coated external parts and the rubber seals may be cleaned using a sponge which has been soaked in lukewarm water and neutral soap. Use specialised products for the removal of stubborn stains. [. . . ]


