Detailed instructions for use are in the User's Guide.
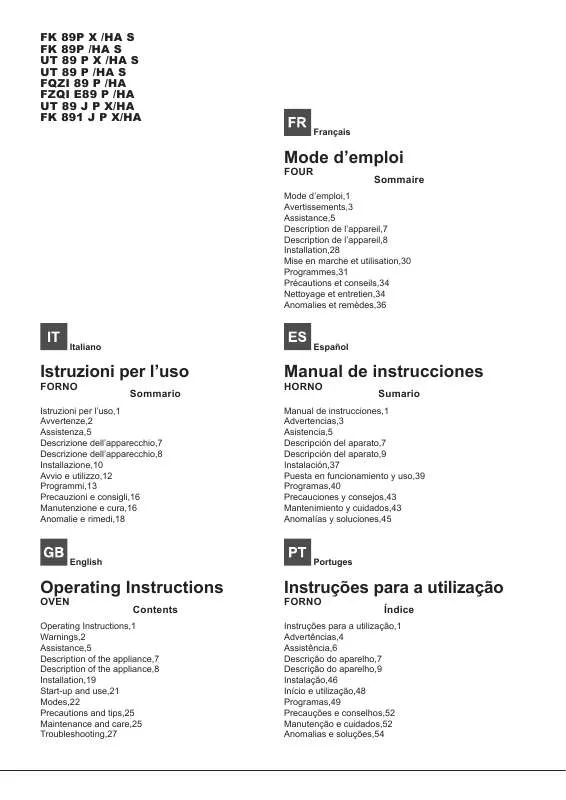
[. . . ] FK 89P X /HA S FK 89P /HA S UT 89 P X /HA S UT 89 P /HA S FQZI 89 P /HA FZQI E89 P /HA UT 89 J P X/HA FK 891 J P X/HA
Franais
Mode d?emploi
FOUR Sommaire
Mode d?emploi, 1 Avertissements, 3 Assistance, 5 Description de l?appareil, 7 Description de l?appareil, 8 Installation, 28 Mise en marche et utilisation, 30 Programmes, 31 Prcautions et conseils, 34 Nettoyage et entretien, 34 Anomalies et remdes, 36
Italiano
Espaol
Istruzioni per l?uso
FORNO Sommario
Istruzioni per l?uso, 1 Avvertenze, 2 Assistenza, 5 Descrizione dell?apparecchio, 7 Descrizione dell?apparecchio, 8 Installazione, 10 Avvio e utilizzo, 12 Programmi, 13 Precauzioni e consigli, 16 Manutenzione e cura, 16 Anomalie e rimedi, 18
Manual de instrucciones
HORNO Sumario
Manual de instrucciones, 1 Advertencias, 3 Asistencia, 5 Descripcin del aparato, 7 Descripcin del aparato, 9 Instalacin, 37 Puesta en funcionamiento y uso, 39 Programas, 40 Precauciones y consejos, 43 Mantenimiento y cuidados, 43 Anomalas y soluciones, 45
English
Portuges
Operating Instructions
OVEN Contents
Operating Instructions, 1 Warnings, 2 Assistance, 5 Description of the appliance, 7 Description of the appliance, 8 Installation, 19 Start-up and use, 21 Modes, 22 Precautions and tips, 25 Maintenance and care, 25 Troubleshooting, 27
Instrues para a utilizao
FORNO ndice
Instrues para a utilizao, 1 Advertncias, 4 Assistncia, 6 Descrio do aparelho, 7 Descrio do aparelho, 9 Instalao, 46 Incio e utilizao, 48 Programas, 49 Precaues e conselhos, 52 Manuteno e cuidados, 52 Anomalias e solues, 54
Avvertenze
ATTENZIONE: Questo apparecchio e le sue parti accessibili diventano molto caldi durante l?uso. Warnings
WARNING: The appliance and its accessible parts become hot during use. Care should be taken to avoid touching heating elements. Children less than 8 years of age shall be kept away unless continuously supervised. [. . . ] Press the button several times until the icon and the three digits on the DISPLAY begin to flash. When the set time has elapsed, the text END appears on the DISPLAY, the oven will stop cooking and a buzzer sounds. And a time of 1 hour and 15 minutes is programmed. Setting the end time for a cooking mode !A cooking duration must be set before the end cooking time can be scheduled. Follow steps 1 to 3 to set the duration as detailed above. Next, press the button until the icon and the two digits on the DISPLAY begin to flash. Press the button again until the other two digits on the DISPLAY begin to flash. When the set time has elapsed, the text END appears on the DISPLAY, the oven will stop cooking and a buzzer sounds. 22
Programming has been set when the and buttons are illuminated. The DISPLAY shows the cooking end time and the cooking duration alternately. To cancel programming, turn the SELECTOR knob to the ?0?Do not place racks in position 1 and 5 during fan-assisted cooking. This is because excessive direct heat can burn temperature sensitive foods. In the BARBECUE and GRATIN cooking modes, particularly when using the rotisserie spit, place the dripping pan in position 1 to collect cooking residues (fat and/or grease). MULTI-COOKING ? Use positions 2 and 4, placing the food which requires more heat on 2. ? Place the dripping pan on the bottom and the rack on top. bARBECUE ? Place the rack in position 3 or 4. Position the food in the centre of the rack. ? We recommend that the power level is set to maximum. The top heating element is regulated by a thermostat and may not always operate constantly. For a crispy crust, do not use the dripping pan as it prevents the crust from forming by extending the total cooking time. [. . . ] The TIMER KNOB may be used to select the desired cleaning level; there are three default time settings which cannot be modified. Intensive (INT): turn the knob towards ?Replacing the light bulb
Lamp Holder compartment
An end time for the FAST CLEAN cycle (as for a normal cooking cycle) may be programmed (see Programming the automatic cleaning end time). Safety devices ? The icon on the display, when lit, indicates that the oven door was automatically locked as soon as the temperature reached a high value. [. . . ]


