Detailed instructions for use are in the User's Guide.
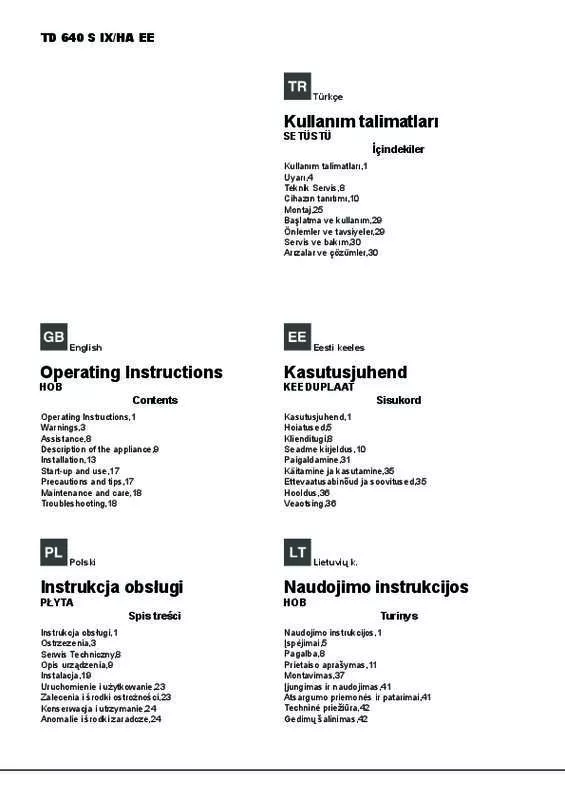
[. . . ] TD 640 S IX/HA EE
Türkçe
Kullanım talimatları
SETÜSTÜ İçindekiler
Kullanım talimatları, 1 Uyarı, 4 Teknik Servis, 8 Cihazın tanıtımı, 10 Montaj, 25 Başlatma ve kullanım, 29 Önlemler ve tavsiyeler, 29 Servis ve bakım, 30 Arızalar ve çözümler, 30
English
Eesti keeles
Operating Instructions
HOB Contents
Operating Instructions, 1 Warnings, 3 Assistance, 8 Description of the appliance, 9 Installation, 13 Start-up and use, 17 Precautions and tips, 17 Maintenance and care, 18 Troubleshooting, 18
Kasutusjuhend
KEEDUPLAAT Sisukord
Kasutusjuhend, 1 Hoiatused, 5 Klienditugi, 8 Seadme kirjeldus, 10 Paigaldamine, 31 Käitamine ja kasutamine, 35 Ettevaatusabinõud ja soovitused, 35 Hooldus, 36 Veaotsing, 36
Polski
Lietuvių k. Instrukcja obsługi
PŁYTA Spis treści
Instrukcja obsługi, 1 Ostrzezenia, 3 Serwis Techniczny, 8 Opis urządzenia, 9 Instalacja, 19 Uruchomienie i użytkowanie, 23 Zalecenia i środki ostrożności, 23 Konserwacja i utrzymanie, 24 Anomalie i środki zaradcze, 24
Naudojimo instrukcijos
HOB Turinys
Naudojimo instrukcijos, 1 Įspėjimai, 5 Pagalba, 8 Prietaiso aprašymas, 11 Montavimas, 37 Įjungimas ir naudojimas, 41 Atsargumo priemonės ir patarimai, 41 Techninė priežiūra, 42 Gedimų šalinimas, 42
Latviešu valoda
Lietošanas instrukcija
PLĪTS VIRSMA Cuprins
Lietošanas instrukcija, 2 Brīdinājumi, 6 Palīdzība, 8 Ierīces apraksts, 11 Ierīkošana, 43 Ieslēgšana un lietošana, 47 Piesardzības pasākumi un ieteikumi, 47 Tehniskā apkope un kopšana, 48 Traucējumu novēršana, 48
Română
Instrucţiuni de utilizare
HOB Sommario
Instrucţiuni de utilizare, 2 Avertismente, 6 Asistenţă, 8 Descrierea aparatului, 12 Instalarea, 49 Pornirea şi folosirea, 53 Precauţii şi sfaturi, 53 Întreţinerea şi îngrijirea, 54 Depanarea, 54
Warnings
WARNING: The appliance and its accessible parts become hot during use. Care should be taken to avoid touching heating elements. Children less than 8 years of age shall be kept away unless continuously supervised. [. . . ] When using liquid gas from a cylinder, install a pressure regulator which complies with current national regulations. Check that the pressure of the gas supply is consistent with the values indicated in Table 1 (“Burner and nozzle specifications”). This will ensure the safe operation and longevity of your appliance while maintaining efficient energy consumption. connection with a rigid pipe (copper or steel) !Connection to the gas system must be carried out in such a way as not to place any strain of any kind on the appliance. There is an adjustable L-shaped pipe fitting on the appliance supply ramp and this is fitted with a seal in order to prevent leaks. The seal must always be replaced after rotating the
Hobs equipped with a three-pole power supply cable are designed to operate with alternating current at the voltage and frequency indicated on the data plate (this is located on the lower part of the appliance). The earth wire in the cable has a green and yellow cover. If the appliance is to be installed above a built-in electric oven, the electrical connection of the hob and the oven must be carried out separately, both for electrical safety purposes and to make extracting the oven easier. Connecting the supply cable to the mains Install a standardised plug corresponding to the load indicated on the data plate. These pipes must be installed so that they are never longer than 2000 mm when fully extended. Once connection has been carried out, make sure that the flexible metal pipe does not touch any moving parts and is not compressed. Only use pipes and seals that comply with current national regulations. Checking the tightness of the connection !When the installation process is complete, check the pipe fittings for leaks using a soapy solution. Adapting to different types of gas To adapt the hob to a different type of gas other than default type (indicated on the rating plate at the base of the hob or on the packaging), the burner nozzles should be replaced as follows: 1. Remove the hob grids and slide the burners off their seats. Unscrew the nozzles using a 7 mm socket spanner, and replace them with nozzles for the new type of gas (see table 1 “Burner and nozzle characteristics”). Reassemble the parts following the above procedure in the reverse order. Once this procedure is finished, replace the old rating sticker with one indicating the new type of gas used. Sticker are available from any of our Service Centres. Adjusting the burners’ primary air Does not require adjusting. [. . . ] The burner does not light or the flame is not even around the burner. Check whether: • The gas holes on the burner are clogged. All the movable parts that make up the burner are mounted correctly. There are draughts near the appliance. [. . . ]


