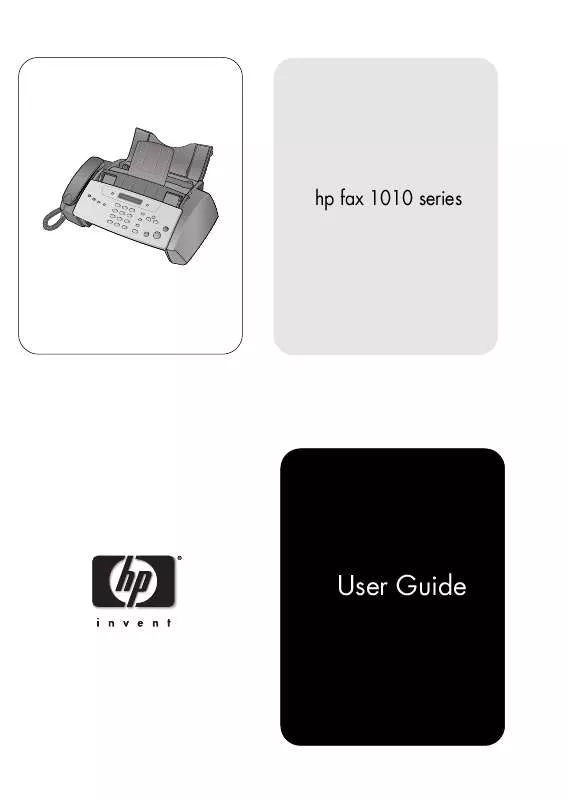
User manual HP 1010 FAX
Lastmanuals offers a socially driven service of sharing, storing and searching manuals related to use of hardware and software : user guide, owner's manual, quick start guide, technical datasheets... DON'T FORGET : ALWAYS READ THE USER GUIDE BEFORE BUYING !!!
If this document matches the user guide, instructions manual or user manual, feature sets, schematics you are looking for, download it now. Lastmanuals provides you a fast and easy access to the user manual HP 1010 FAX. We hope that this HP 1010 FAX user guide will be useful to you.
Lastmanuals help download the user guide HP 1010 FAX.
You may also download the following manuals related to this product:
Manual abstract: user guide HP 1010 FAX
Detailed instructions for use are in the User's Guide.
[. . . ] hp fax 1010 series
User Guide
Copyright © 2002 Hewlett-Packard Company All rights are reserved. No part of the document may be photocopied, reproduced, or translated to another language without the prior written consent of HewlettPackard Company. Publication number: C9270-90102 First edition: November 2002 Printed in China
safety information WARNING!To prevent fire or shock hazard, do not expose this product to rain or any type of moisture.
Always follow basic safety precautions when using this product to reduce risk of injury from fire or electric shock.
notice
The information contained in this document is subject to change without notice and should not be construed as a commitment by the Hewlett-Packard Company. [. . . ] Select Set Fax Forward by pressing Use · · · and press Start/Enter. Off: disables fax forwarding Forward: forwards a fax to your new location Forward & Print: prints a fax and also forwards it to your new location
3 4 5
If you selected Forward or Forward & Print, enter the fax number and press Start/Enter. Enter the start time and press Start/Enter. Enter the end time and press Start/Enter · The machine returns to Ready mode and FWD will appear in the display at the start time and every fax will be forwarded to your new location till the end time. · During forwarding time, the answer mode temporarily changes to FAX.
to cancel the scheduled job
25
advanced faxing
advanced faxing
advanced faxing
advanced faxing
advanced faxing
advanced faxing
advanced faxing
All scheduled jobs remain in memory after they have been set. To make more memory available, cancel unnecessary scheduled jobs.
hp fax 1010 series
26
advanced faxing
This chapter contains instructions for other features of the HP Fax that you may want to use from time to time.
set the date and time
The current date and time (24-hour format) are shown in the display when the machine is on and ready for use (Ready mode). The date and time will be printed on all faxes you send.
1 2 3 4 5 6
Press Menu. Press to choose SET DATE & TIME and press Start/Enter.
Press Start/Enter when the display shows Date Format. to select either Europe (day month year) or USA (month day year) and press Start/
Set the date and time (24-hour format). You can move the cursor by pressing To figure 24-hour format after 12 pm (noon), add 12 to the time. For example, 8:30 pm is 20:30 in 24-hour format. Press Start/Enter when the date and time are correct. The display shows the date and time you have set, then returns to Ready mode.
.
7
turn on and off alarm and key sounds
You can turn both the alarm and key beeps on and off.
1 2 3
Press Menu repeatedly until SET UP SOUND appears and press Start/Enter. The display shows the two options you can adjust: Alarm Sound and Key Sound. Press to select Alarm Sound or Key Sound and press Start/Enter.
set the date and time
27
other features
other features
Select On or Off and press Start/Enter.
other features
other features
Press Start/Enter when the display shows Date & Time.
other features
other features
other features
other features
7
other features
hp fax 1010 series
set the fax header information
This information is required by law in many countries. The fax header prints your name and fax number on the top of every fax you send.
1 2 3
Press Menu repeatedly until
SET SYSTEM ID displays and press Start/Enter.
Press Start/Enter when the display shows Fax Number. Enter the fax number to which your machine is connected. · You can enter up to 20 digits, and include special characters (space, plus sign, etc. ) · To enter a space, press 1 twice. · To enter parentheses ( ), press * multiple times until you see the symbol you want. · To enter hyphen , press #. · If you enter a wrong number, use Press Start/Enter when finished. Press Start/Enter when the display shows Fax Name. [. . . ] For each hardware Product, the duration of HP's limited warranty is one year for parts and one year for labor. For all other Products, the duration of HP's limited warranty for both parts and labor is ninety days. For each software Product, HP's limited warranty applies only to a failure to execute programming instructions. HP does not warrant that the operation of any Product shall be uninterrupted or error free. [. . . ]
DISCLAIMER TO DOWNLOAD THE USER GUIDE HP 1010 FAX Lastmanuals offers a socially driven service of sharing, storing and searching manuals related to use of hardware and software : user guide, owner's manual, quick start guide, technical datasheets...manual HP 1010 FAX


 HP 1010 FAX FAX 1010 SERIES - SETUP POSTER (962 ko)
