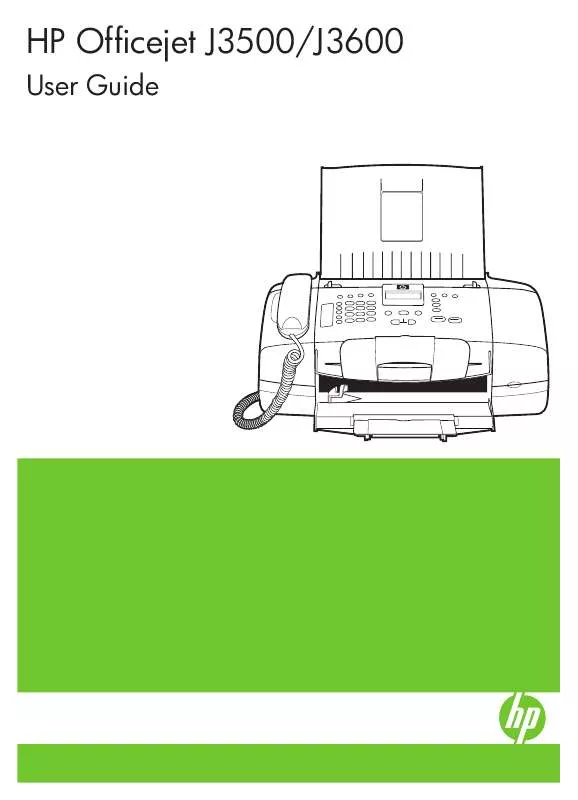
User manual HP OFFICEJET J3600 ALL-IN-ONE
Lastmanuals offers a socially driven service of sharing, storing and searching manuals related to use of hardware and software : user guide, owner's manual, quick start guide, technical datasheets... DON'T FORGET : ALWAYS READ THE USER GUIDE BEFORE BUYING !!!
If this document matches the user guide, instructions manual or user manual, feature sets, schematics you are looking for, download it now. Lastmanuals provides you a fast and easy access to the user manual HP OFFICEJET J3600 ALL-IN-ONE. We hope that this HP OFFICEJET J3600 ALL-IN-ONE user guide will be useful to you.
Lastmanuals help download the user guide HP OFFICEJET J3600 ALL-IN-ONE.
You may also download the following manuals related to this product:
Manual abstract: user guide HP OFFICEJET J3600 ALL-IN-ONE
Detailed instructions for use are in the User's Guide.
[. . . ] HP Officejet J3500/J3600
User Guide
HP Officejet J3500/J3600 All-in-One series
User Guide
Copyright information
© 2007 Copyright Hewlett-Packard Development Company, L. P.
Accessibility
The device provides a number of features that make it accessible for people with disabilities. Visual The device software is accessible for users with visual impairments or low vision through the use of your operating system's accessibility options and features. It also supports most assistive technology such as screen readers, Braille readers, and voice-to-text applications. For users who are color blind, colored buttons and tabs used in the software and on the control panel have simple text or icon labels that convey the appropriate action. [. . . ] Remove the white plug from the port labeled 2-EXT on the back of the device. Find the phone cord that connects from the back of your computer (your computer dial-up modem) to a telephone wall jack. Disconnect the cord from the telephone wall jack and plug it into the parallel splitter. Connect a phone cord from the parallel splitter to the port labeled 2-EXT on the back of the device. Connect a phone to the parallel splitter. Using the phone cord supplied in the box with the device, connect one end to your telephone wall jack, then connect the other end to the port labeled 1-LINE on the back of the device. NOTE: If you do not use the supplied cord to connect from the telephone wall jack to the device, you might not be able to fax successfully. This special phone cord is different from the phone cords you might already have in your home or office. If your modem software is set to receive faxes to your computer automatically, turn off that setting. NOTE: If you do not turn off the automatic fax reception setting in your modem software, the HP device will not be able to receive faxes. Now you need to decide how you want the device to answer calls, automatically or manually: · If you set up the device to answer calls automatically, it answers all incoming calls and receives faxes. The device will not be able to distinguish between fax and voice calls in this case; if you suspect the call is a voice call, you will need to answer it before the device answers the call. To set up the device to answer calls automatically, turn on the Auto Answer setting. · If you set up the device to answer faxes manually, you must be available to respond in person to incoming fax calls or the device cannot receive faxes. To set up the device to answer calls manually, turn off the Auto Answer setting. NOTE: If your computer has two telephone ports on the back, you do not need to use a parallel splitter. You can plug the telephone into the "OUT" port on the computer dial-up modem. If you pick up the phone before the device answers the call and hear fax tones from a sending fax machine, you will need to answer the fax call manually. If you use your phone line for voice, fax, and your computer dial-up modem, follow these directions to set up your fax.
86
Configure and manage
Shared voice/fax with computer DSL/ADSL modem Use these instructions if your computer has a DSL/ADSL modem
1 2 3 4 5 6 7
Telephone wall jack Parallel splitter DSL/ADSL filter Phone cord supplied with the device DSL/ADSL modem Computer Telephone
NOTE: You will need to purchase a parallel splitter. A parallel splitter has one RJ-11 port on the front and two RJ-11 ports on the back. Do not use a 2line phone splitter, a serial splitter, or a parallel splitter which has two RJ-11 ports on the front and a plug on the back.
Set up faxing for the device
87
Chapter 7
To set up the device with a computer DSL/ADSL modem 1. Obtain a DSL filter from your DSL provider. [. . . ] Gromadzenie osobno i recykling tego typu odpadów przyczynia si do ochrony zasobów naturalnych i jest bezpieczny dla zdrowia i rodowiska naturalnego. Dalsze informacje na temat sposobu utylizacji zuytych urzdze mona uzyska u odpowiednich wladz lokalnych, w przedsibiorstwie zajmujcym si usuwaniem odpadów lub w miejscu zakupu produktu. Descarte de equipamentos por usuários em residências da União Européia Este símbolo no produto ou na embalagem indica que o produto não pode ser descartado junto com o lixo doméstico. No entanto, é sua responsabilidade levar os equipamentos a serem descartados a um ponto de coleta designado para a reciclagem de equipamentos eletro-eletrônicos. [. . . ]
DISCLAIMER TO DOWNLOAD THE USER GUIDE HP OFFICEJET J3600 ALL-IN-ONE Lastmanuals offers a socially driven service of sharing, storing and searching manuals related to use of hardware and software : user guide, owner's manual, quick start guide, technical datasheets...manual HP OFFICEJET J3600 ALL-IN-ONE


 HP OFFICEJET J3600 ALL-IN-ONE SETUP GUIDE (827 ko)
