User manual HUMMINBIRD XAP 9
Lastmanuals offers a socially driven service of sharing, storing and searching manuals related to use of hardware and software : user guide, owner's manual, quick start guide, technical datasheets... DON'T FORGET : ALWAYS READ THE USER GUIDE BEFORE BUYING !!!
If this document matches the user guide, instructions manual or user manual, feature sets, schematics you are looking for, download it now. Lastmanuals provides you a fast and easy access to the user manual HUMMINBIRD XAP 9. We hope that this HUMMINBIRD XAP 9 user guide will be useful to you.
Lastmanuals help download the user guide HUMMINBIRD XAP 9.
Manual abstract: user guide HUMMINBIRD XAP 9
Detailed instructions for use are in the User's Guide.
[. . . ] Some states do not allow limitations on an implied warranty, or the exclusion of incidental or consequential damages, so the above exclusions may not apply to you. You may also have other rights, which vary from state to state.
Humminbird® Service Policy
Even though you'll probably never need to take advantage of our incredible service policy, it's good to know that we back our products this confidently. We will make every effort to repair your unit within three business days from the receipt of your unit at our factory. This does not include shipping time to and from our factory. [. . . ] If you find that any items are missing from your installation kit, call our Customer Resource Center at 1-800-633-1468 or visit our website at www. humminbird. com.
Installation
There are a number of ways to install a transducer on your boat. Inside the hull mounting of the transducer generally produces good results in single thickness fiberglass hulled boats. Humminbird® cannot guarantee depth performance when transmitting and receiving through the hull of the boat, since some signal loss will occur. The amount of loss depends on hull construction and thickness, and the installation.
NOTE: This type of installation requires the use of a slow-cure two-part epoxy. Do not use silicone or any other soft adhesive material to install the transducer, as this material will reduce the sensitivity of the unit. Do not use five-minute epoxy, as it has a tendency to cure before all the air bubbles can be purged, thus reducing signal strength.
For OUT-OF-WARRANTY service, complete the following steps:
· Obtain a Repair Authorization Number from the Humminbird® Customer Resource Center. · Include payment in the form of credit card number and expiration date, money order or personal check. · Tag product with your name, street address, phone number and your assigned Repair Authorization Number. · Include a brief written description of the problem. · Return product freight prepaid to Humminbird®, using an insured carrier with delivery confirmation.
1. Locating the Transducer Mounting Position
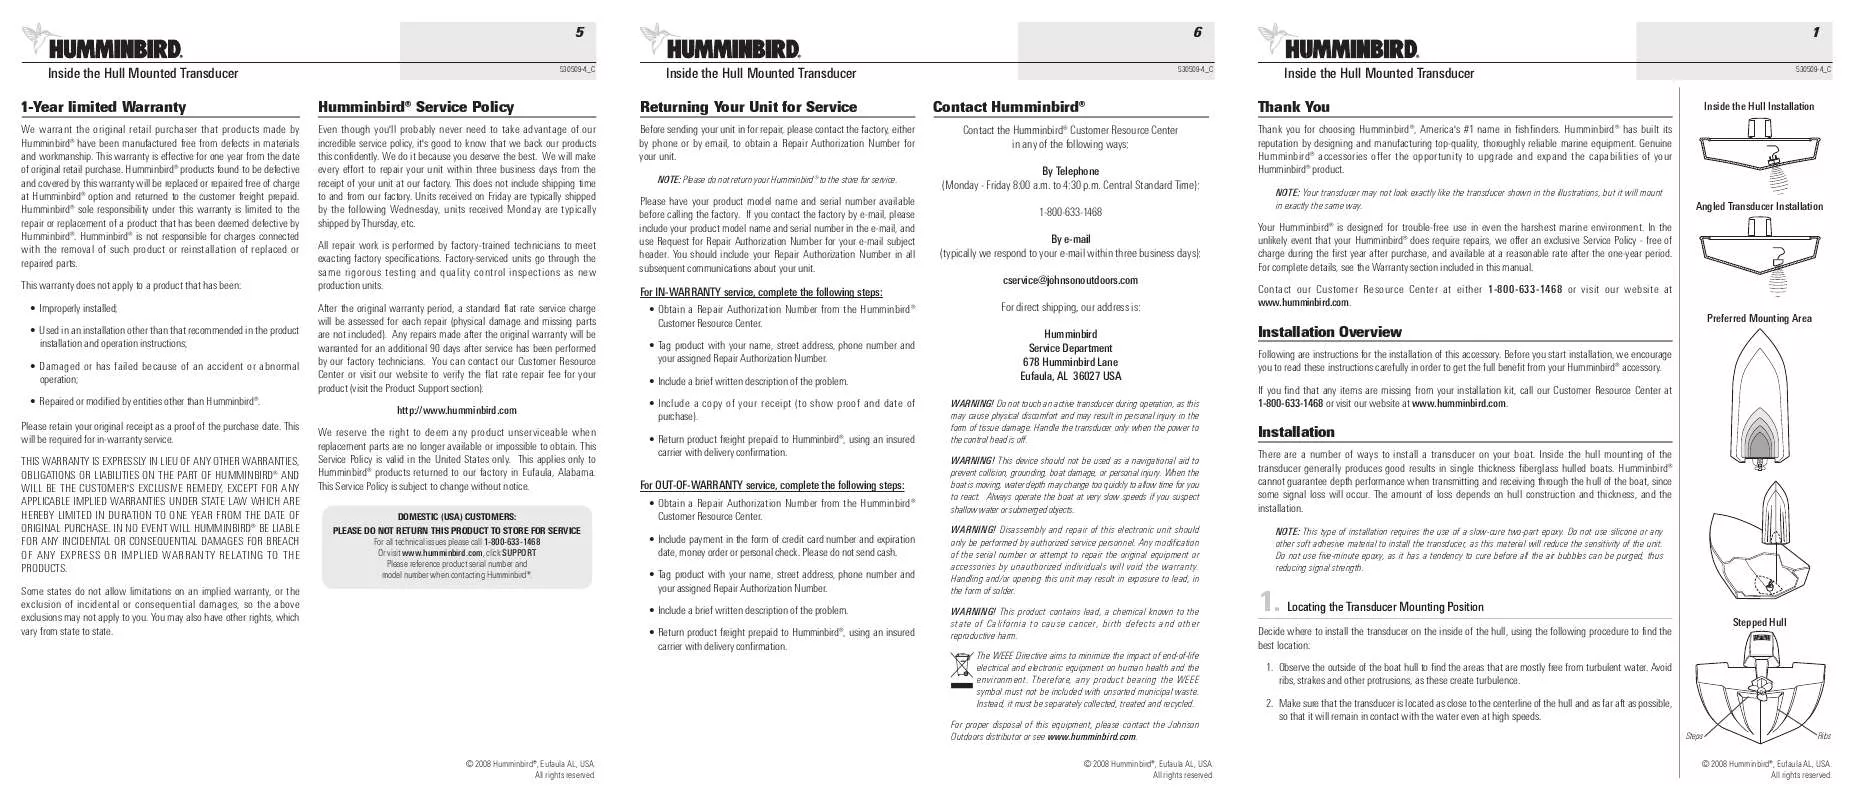
Decide where to install the transducer on the inside of the hull, using the following procedure to find the best location: 1. Observe the outside of the boat hull to find the areas that are mostly free from turbulent water. Avoid ribs, strakes and other protrusions, as these create turbulence. Make sure that the transducer is located as close to the centerline of the hull and as far aft as possible, so that it will remain in contact with the water even at high speeds.
Steps Ribs
Stepped Hull
© 2008 Humminbird®, Eufaula AL, USA. All rights reserved.
© 2008 Humminbird®, Eufaula AL, USA. All rights reserved.
© 2008 Humminbird®, Eufaula AL, USA. All rights reserved.
2 Inside the Hull Mounted Transducer
530509-4_C
3 Inside the Hull Mounted Transducer
5. When the epoxy has cured, no water will be necessary inside the hull, and water or spilled gasoline or oil will not affect the performance of the transducer.
530509-4_C
4 Inside the Hull Mounted Transducer
1. Either route the cable from the in-hull mounted transducer over the top of the transom, or drill a 5/8" hole in the transom directly above the sensor, above the waterline.
CAUTION!The temperature probe incorporates a temperature-sensitive probe in a high-impact plastic housing with 10 feet of cable. Do not cut or shorten the temperature probe cable, and try not to damage the cable insulation. The probe is intended for installation on the transom and will work well on almost any boat.
530509-4_C
2. [. . . ] Installing the Temperature Probe (If Applicable)
The Temperature Probe incorporates a temperature-sensitive probe in a high impact plastic housing. The probe is intended for installation on the transom and will work well on almost any boat.
NOTE: The temperature probe is only available on certain models. Call the Customer Resource Center at 1-800-633-1468 for details and pricing, or visit www. humminbird. com for more information.
Your control head is now ready for operation.
In addition to the parts supplied, you will need a hand drill with various size bits, marine-grade silicone sealant, and various hand tools. Temperature Probe Mounting Location: Locate an area on the transom of your boat 6"-8" or farther from the transducer(s). [. . . ]
DISCLAIMER TO DOWNLOAD THE USER GUIDE HUMMINBIRD XAP 9 Lastmanuals offers a socially driven service of sharing, storing and searching manuals related to use of hardware and software : user guide, owner's manual, quick start guide, technical datasheets...manual HUMMINBIRD XAP 9


