Detailed instructions for use are in the User's Guide.
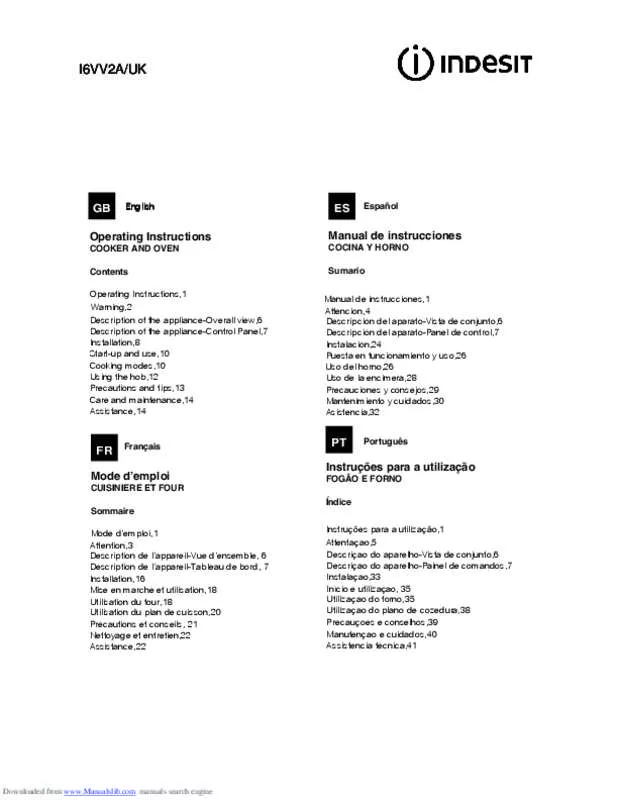
[. . . ] I6VV2A/UK
GB
English
ES
Espaol
Operating Instructions
COOKER AND OVEN Contents Operating Instructions, 1 W arning, 2 Description of the appliance-Overall view, 6 Description of the appliance-Control Panel, 7 Installation, 8 Start-up and use, 10 Cooking modes, 10 Using the hob, 12 Precautions and tips, 13 Care and maintenance, 14 Assistance, 14
Manual de instrucciones
COCINA Y HORNO Sumario Manual de instrucciones, 1 Attencion, 4 Descripcin del aparato-Vista de conjunto, 6 Descripcin del aparato-Panel de control, 7 Instalacin, 24 Puesta en funcionamiento y uso, 26 Uso del horno, 26 Uso de la encimera, 28 Precauciones y consejos, 29 Mantenimiento y cuidados, 30 Asistencia, 32
FR
Franais
PT
Portugus
Mode d?emploi
CUISINIERE ET FOUR Sommaire Mode d?emploi, 1 Attention, 3 Description de l?appareil-Vue d?ensemble, 6 Description de l?appareil-Tableau de bord, 7 Installation, 16 Mise en marche et utilisation, 18 Utilisation du four, 18 Utilisation du plan de cuisson, 20 Prcautions et conseils, 21 Nettoyage et entretien, 22 Assistance, 22
Instrues para a utilizao
FOGO E FORNO ndice Instrues para a utilizao, 1 Attentaao, 5 Descriao do aparelho-Vista de conjunto, 6 Descriao do aparelho-Painel de comandos, 7 Instalaao, 33 Incio e utilizaao, 35 Utilizaao do forno, 35 Utilizaao do plano de cozedura, 38 Precauoes e conselhos, 39 Manutenao e cuidados, 40 Assistencia tcnica, 41
Downloaded from www. Com manuals search engine
GB
WARNING
WARNING: The appliance and its accessible parts become hot during use. Care should be taken to avoid touching heating elements. Children less than 8 years of age shall be kept away unless continuously supervised. [. . . ] Turn the knob anticlockwise to set the desired time: align the minutes shown on the COOKING TIMER knob with the indicator on the control panel. When the selected time has elapsed, a buzzer sounds and the oven turns off. When the oven is off the cooking timer can be used as a normal timer. To use the oven manually, in other words when you do not wish to use the end of cooking timer, turn the COOKING TIMER knob until it reaches the ?The oven is provided with a stop system to extract the racks and prevent them from coming out of the oven. (1) As shown in the drawing, to extract them completely, simply lift the racks, holding them on the front part, and pull (2). Using the grill pan kit The grill pan handle is detachable from the pan to facilitate cleaning and storage. Fix the pan handle securely before use: 1. Fit the handle to the grill pan so the external ?hooks?The glue applied on the gaskets leaves traces of grease on the glass. Before using the appliance, we recommend you remove these with a special nonabrasive cleaning product. During the first few hours of use there may be a smell of rubber which will disappear very quickly. Use pans with a thick, flat base to ensure that they adhere perfectly to the cooking zone. Switching the cooking zones on and off
To switch on a cooking zone, turn the corresponding knob in a clockwise direction. To switch it off again, turn the knob in an anticlockwise direction until it is in the ?0?If the ACTIVE HOTPLATE ON indicator light is lit, this shows that at least one hotplate on the hob is switched on. Always use pans with a diameter that is large enough to cover the hotplate fully, in order to use all the heat produced. Cooking zones
The hobs have been provided with radiant electric heaters. These heaters are incorporated under the surface of the hob as zones which redden while they are in use. The residual heat indicator A A light: this indicates that the temperature of the B corresponding cooking zone is greater than 60C, even when the heating element has been switched off but is still hot. Cooking zones with heating elements The radiant heating elements are composed of circular heating elements. They only become red after being turned on for 10-20 seconds. [. . . ] If the hob is particularly dirty, rub it with a special glass ceramic cleaning product, then rinse well and dry thoroughly. To remove more stubborn dirt, use a suitable scraper (this is not supplied with the appliance). Remove spills as soon as possible, without waiting for the appliance to cool, to avoid residues forming crusty deposits. You can obtain excellent results by using a rustproof steel wire sponge - specifically designed for glass ceramic surfaces - soaked in soapy water. [. . . ]


