User manual JVC HR-V210E
Lastmanuals offers a socially driven service of sharing, storing and searching manuals related to use of hardware and software : user guide, owner's manual, quick start guide, technical datasheets... DON'T FORGET : ALWAYS READ THE USER GUIDE BEFORE BUYING !!!
If this document matches the user guide, instructions manual or user manual, feature sets, schematics you are looking for, download it now. Lastmanuals provides you a fast and easy access to the user manual JVC HR-V210E. We hope that this JVC HR-V210E user guide will be useful to you.
Lastmanuals help download the user guide JVC HR-V210E.
Manual abstract: user guide JVC HR-V210E
Detailed instructions for use are in the User's Guide.
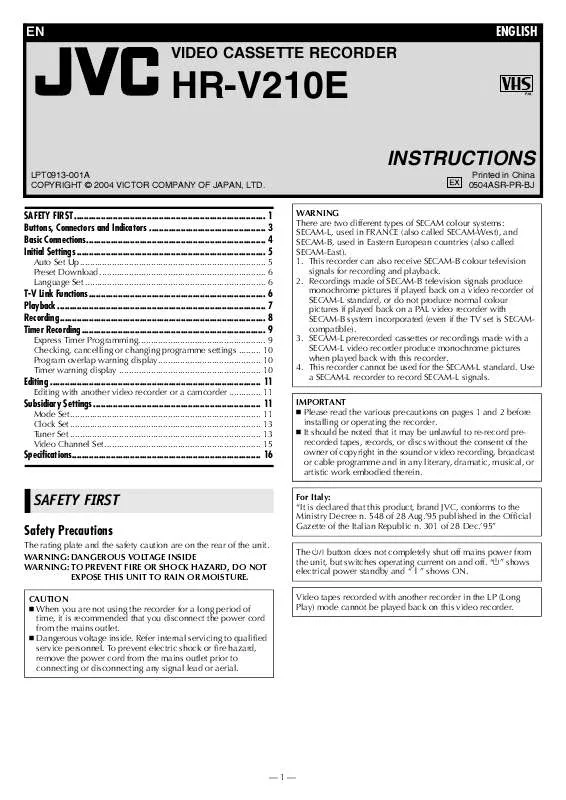
[. . . ] EN
ENGLISH
VIDEO CASSETTE RECORDER
HR-V210E
INSTRUCTIONS
LPT0913-001A COPYRIGHT © 2004 VICTOR COMPANY OF JAPAN, LTD. Printed in China 0504ASR-PR-BJ WARNING There are two different types of SECAM colour systems: SECAM-L, used in FRANCE (also called SECAM-West), and SECAM-B, used in Eastern European countries (also called SECAM-East). This recorder can also receive SECAM-B colour television signals for recording and playback. Recordings made of SECAM-B television signals produce monochrome pictures if played back on a video recorder of SECAM-L standard, or do not produce normal colour pictures if played back on a PAL video recorder with SECAM-B system incorporated (even if the TV set is SECAMcompatible). [. . . ] "$" on the display panel starts blinking slowly. To stop playback, press 8 on the remote control or 0 on the recorder.
Recording
Accidental erasure prevention
To prevent accidental recording on a recorded cassette, remove its record safety tab. To record on it later, cover the hole with adhesive tape.
NOTE:
Pressing 4, 3, 5 or 9 also stops Repeat Playback.
Record safety tab
Locating beginning of recordings -- Index Search
Index codes are placed on the tape at the beginning of each recording when recording on this recorder.
Basic Recording
Turn on the TV and select the video channel or AV mode.
A Load a cassette
Make sure the record safety tab is intact. If not, cover the hole with adhesive tape before inserting the cassette. The recorder turns on, and the counter is reset, automatically.
A While the tape is not running, press w or
codes away, press w or e (2 or 6) repeatedly until the correct number is displayed on the screen (only if "O. S. D. " is set to "ON" ( 12)). Example: Current position To locate the beginning of B from the current position, press w twice. To locate the beginning of D from the current position, press e once. Playback begins automatically Index number when the desired recording is located.
B To access a recording of 2 to 9 index
e (2 or 6) to start search.
B Select recording channel
Press PR r/t or the number keys on the remote control or PR+/ on the recorder. You can select channel in the stop mode or recording pause mode.
C Start recording
On the recorder, press 7. Or on the remote control, while holding 7, press 4.
NOTE:
If the tape reaches its end during recording, the recording stops and " " and " $" on the display panel blink. Press 0 on the recorder to eject the cassette or press 3 to rewind the tape.
During recording
Locating beginning of timer recordings -- Instant Review
After ensuring that the recorder is turned off and that the timer mode is disengaged, press REVIEW. The recorder turns on, and rewinds to the index code indicating the beginning of the last timer-recorded programme, then begins playback automatically. You can access a programme as far as 9 index codes away from the current tape position. The Instant Review function can also operate if the recorder is turned on.
Pause recording Press 9. You can select channel in the recording pause mode. Stop recording Press 8 on the remote control. OR Press 0 on the recorder.
Skipping unwanted portions -- Skip Search
Press 30 SEC once to 4 times during playback. Each press initiates a 30-second period of high-speed playback (up to 2 minutes). When the specified portion of the tape is skipped, normal playback resumes automatically. To return to normal playback during Skip Search, press 4.
--8--
Recording Features
Recording Resume Function
If there is a power outage during recording (or Instant Timer Recording, or timer recording), the recording will resume automatically when the power is restored to the recorder. (No setting is required for this function. )
Timer Recording
Up to 8 timer recording programmes can be made. Before starting: 13) Set the clock properly. [. . . ] The characters available for the station name (ID) are A-Z, 0-9, , *, +, _ (space). If you make a mistake, press w until the incorrect character begins blinking. Then enter the correct character by pressing rt.
D Return to normal screen
Press MENU.
Changing station channel positions A Access Confirmation screen
Perform step 1 of "Manual Channel Set" ( 13).
D Return to normal screen
Press MENU.
B Select position
Press rt w e until the station you want to move begins blinking, then press OK. The channel number (CH) begins blinking.
C Select new position
Press rt w e to move the station to the new position, then press OK. [. . . ]
DISCLAIMER TO DOWNLOAD THE USER GUIDE JVC HR-V210E Lastmanuals offers a socially driven service of sharing, storing and searching manuals related to use of hardware and software : user guide, owner's manual, quick start guide, technical datasheets...manual JVC HR-V210E


