User manual NETGEAR DGN2000
Lastmanuals offers a socially driven service of sharing, storing and searching manuals related to use of hardware and software : user guide, owner's manual, quick start guide, technical datasheets... DON'T FORGET : ALWAYS READ THE USER GUIDE BEFORE BUYING !!!
If this document matches the user guide, instructions manual or user manual, feature sets, schematics you are looking for, download it now. Lastmanuals provides you a fast and easy access to the user manual NETGEAR DGN2000. We hope that this NETGEAR DGN2000 user guide will be useful to you.
Lastmanuals help download the user guide NETGEAR DGN2000.
You may also download the following manuals related to this product:
Manual abstract: user guide NETGEAR DGN2000
Detailed instructions for use are in the User's Guide.
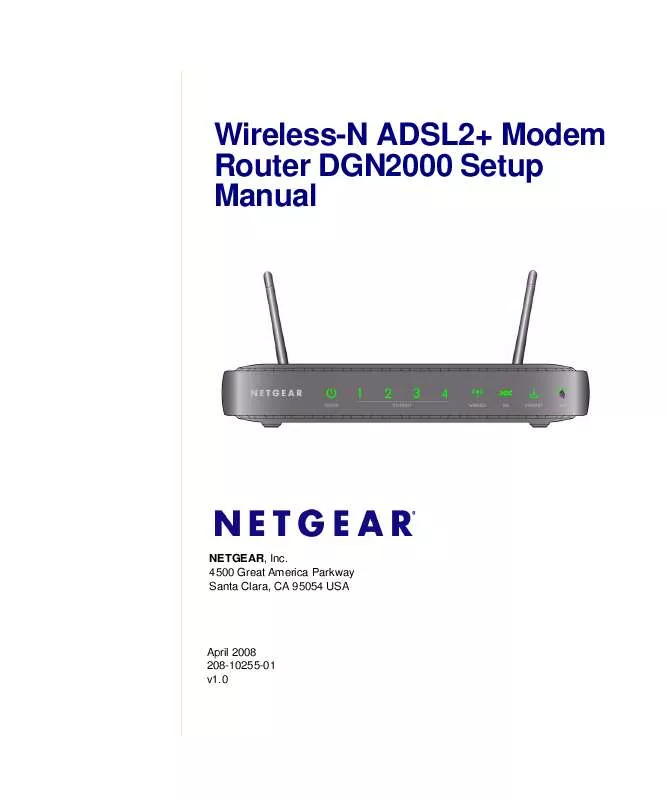
[. . . ] Wireless-N ADSL2+ Modem Router DGN2000 Setup Manual
NETGEAR, Inc. 4500 Great America Parkway Santa Clara, CA 95054 USA
April 2008 208-10255-01 v1. 0
©2008 by NETGEAR, Inc. All rights reserved.
Trademarks
NETGEAR and the NETGEAR logo are trademarks of NETGEAR, Inc. Microsoft, Windows, and Windows NT are registered trademarks of Microsoft Corporation. [. . . ] NETGEAR strongly recommends that you use wireless security. To successfully implement wireless security, check each wireless adapter to determine which wireless security option it supports.
To set up basic wireless connectivity: 1. Log in to the wireless-N modem router at its default LAN address of http://Default IP
Address Variable with its default user name of admin and default password of password, or using whatever LAN address and password you have set up. You can also enter either of these addresses to connect to your wireless router: http://www. routerlogin. net or http://www. routerlogin. com.
2. On the main menu, select Wireless Settings to display the Wireless Settings screen.
Note that the default SSID is NETGEAR. The SSID of any wireless adapters must match the SSID you configure in the wireless-N modem router. If they do not match, you will not get a wireless connection.
3. Select the region where the router is located. Leave the wireless mode at the default setting of 130 Mbps. This mode is backward
compatible with 802. 11b and 802. 11g wireless adapters.
5. To set up your computers for wireless connectivity: 1. Program the wireless settings of each computer or wireless adapter to have the same SSID
(wireless network name) as the router.
22
Configuring Your Wireless Network
2. Check that the wireless adapter on each computer can support the mode and security option
that you selected. (If you have a question, see the online Reference Manual or review the settings you selected in "Specifying Wireless Settings" on page 21).
3. Check that the security settings on each wireless device match the security settings of the
router. For example, if you selected a security option requiring a passphrase, then the same passphrase must be used for each wireless computer.
4. Check that each wireless computer has a wireless link and is able to obtain an IP address by
DHCP from the router. For a Windows PC, go to the Control Panel and select Network Connections. Check the Wireless Connections Properties and ensure that TCP/IP Properties are set to Obtain an IP address automatically. To access the Internet from any computer connected to your wireless-N modem router, launch a browser such as Microsoft Internet Explorer or Netscape Navigator. You should see the wireless-N modem router's Internet LED blink, indicating communication to the ISP.
Using Push 'N' Connect (WPS) to Configure Your Wireless Network
If your wireless clients support Wi-Fi Protected Setup (WPS), you can use this feature to configure the router's SSID and security settings and, at the same time, connect the wireless client securely and easily to the router. Look for the symbol on your client device. 1 WPS automatically configures the SSID and wireless security settings for the router (if the router is in its default state) and broadcasts these settings to the wireless client. NETGEAR's Push 'N' Connect feature is based on the Wi-Fi Protected Setup (WPS) standard. [. . . ] If your ISP assigned a host name to your PC, enter that host name as the Account Name in the Basic Settings menu.
· ·
Restoring the Default Configuration and Password
This section explains how to restore the factory default configuration settings, changing the router's administration password to password and the IP address to 192. 168. 0. 1. You can erase the current configuration and restore factory defaults in two ways: · · Use the Erase function of the Web Configuration Manager. Use the reset buttons on the side panel of the router (that is, press the Wireless On/Off and WPS buttons simultaneously). Use this method for cases when the administration password or IP address is not known.
36
Troubleshooting
Using the Wireless On/Off and WPS Buttons to Reset the Router
To restore the factory default configuration settings without knowing the administration password or IP address, you must press the Wireless On/Off and WPS buttons on the side panel of the router simultaneously.
1. [. . . ]
DISCLAIMER TO DOWNLOAD THE USER GUIDE NETGEAR DGN2000 Lastmanuals offers a socially driven service of sharing, storing and searching manuals related to use of hardware and software : user guide, owner's manual, quick start guide, technical datasheets...manual NETGEAR DGN2000


 NETGEAR DGN2000 TECHNICAL SPECIFICATIONS (354 ko)
