User manual NETGEAR WNHDE111
Lastmanuals offers a socially driven service of sharing, storing and searching manuals related to use of hardware and software : user guide, owner's manual, quick start guide, technical datasheets... DON'T FORGET : ALWAYS READ THE USER GUIDE BEFORE BUYING !!!
If this document matches the user guide, instructions manual or user manual, feature sets, schematics you are looking for, download it now. Lastmanuals provides you a fast and easy access to the user manual NETGEAR WNHDE111. We hope that this NETGEAR WNHDE111 user guide will be useful to you.
Lastmanuals help download the user guide NETGEAR WNHDE111.
Manual abstract: user guide NETGEAR WNHDE111
Detailed instructions for use are in the User's Guide.
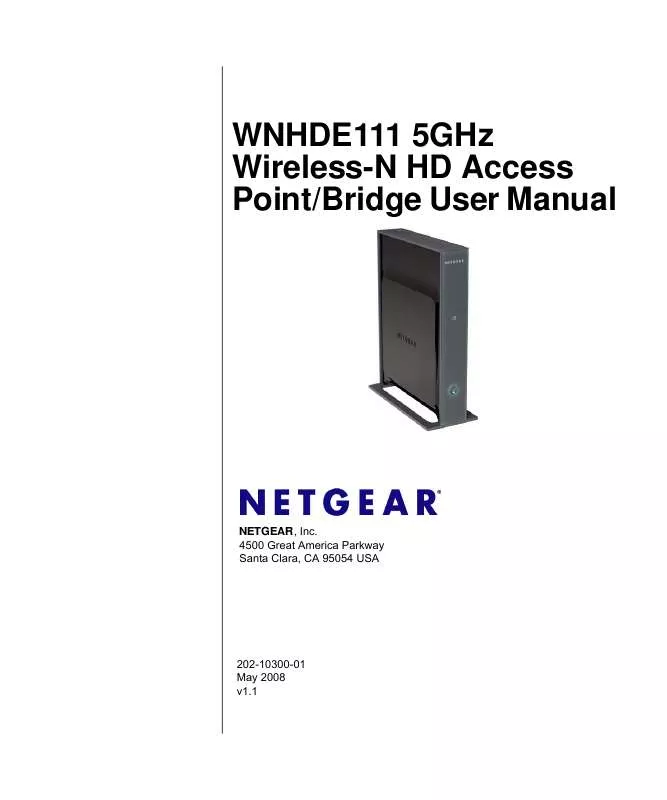
[. . . ] WNHDE111 5GHz Wireless-N HD Access Point/Bridge User Manual
NETGEAR, Inc. 4500 Great America Parkway Santa Clara, CA 95054 USA
202-10300-01 May 2008 v1. 1
© 2008 by NETGEAR, Inc. All rights reserved.
Product Registration, Support, and Documentation
Register your product at http://www. netgear. com/register. Registration is required before you can use our telephone support service. [. . . ] For information about this list, see "Restricting Wireless Access by MAC Address" on page 4-11.
· ·
.
Note: The Fragmentation Threshold, CTS/RTS Threshold, and Preamble Mode options are reserved for wireless testing and advanced configuration only. Do not change these settings.
Using Push 'N' Connect (Wi-Fi Protected Setup)
If your wireless clients support Wi-Fi Protected Setup (WPS), you can use this feature to configure the router's network name (SSID) and security settings and, at the same time, connect a wireless client securely and easily to the router. Look for the symbol on your client device. WPS automatically configures the network name (SSID) and wireless security settings for the router (if the router is in its default state) and broadcasts these settings to the wireless client. Note: NETGEAR's Push 'N' Connect feature is based on the Wi-Fi Protected Setup (WPS) standard (for more information, see http://www. wi-fi. org). All other Wi-Ficertified and WPS-capable products should be compatible with NETGEAR products that implement Push 'N' Connect. When you add wireless clients, whether or not they are WPS enabled, the added devices must share the same network name (SSID) and security passphrase. For more information, see "Connecting Additional Wireless Client Devices after WPS Setup" on page 4-10. Note: If you choose to use WPS, the only security methods supported are WPA-PSK and WPA2-PSK. The Wireless-N AccessPoint/Bridge provides two methods for connecting to a wireless client that supports WPS, described in the following sections:
Securing My Wireless v1. 1, May 2008 4-7
WNHDE111 5GHz Wireless-N HD Access Point/Bridge User Manual
· ·
"Push Button Configuration" "Security PIN Entry" on page 4-9
Push Button Configuration
There are two methods to enable a wireless client to join a network using a push button on the router: using the physical push button or using the software button in the Add WPS Client screen. Press the button on the Wireless-N AccessPoint/Bridge for over 5 seconds. For information about the WPS button light, see the . The green button light begins to blink in a regular pattern. While the light is blinking, you have 2 minutes to enable WPS on the client that you are trying to connect to the router. On the wireless client, follow its specific networking instructions to enable WPS, to allow it to connect to the router. The Wireless-N AccessPoint/Bridge's green when one of these conditions occurs: · · button light ceases blinking and remains on
The router and the client establish a wireless connection. The 2-minute window period expires for establishing a WPS connection. If the connection is not established, no WPS security settings will be specified in the Wireless-N AccessPoint/Bridge.
Using the Software Button in the Add WPS Client Screen 1. Log in to the router as described in "Viewing or Changing Settings" on page 3-1. Select Add WPS Client in the main menu, and click Next. Select the Push Button setup method.
Figure 4-3 4-8 v1. 1, May 2008 Securing My Wireless
WNHDE111 5GHz Wireless-N HD Access Point/Bridge User Manual
4. Click the
button in the Add WPS Client screen. [. . . ] Use this method for cases when the administration password or IP address is not known.
To restore the factory default configuration settings when you do not know the administration password or IP address, you must use the restore settings button on the rear panel of the router. Press and hold the restore settings button for 10 seconds. Release the restore settings button, and wait for the router to reboot.
8-4 v1. 1, May 2008
Troubleshooting
Appendix A Technical Specifications
Default Configuration Settings
This appendix provides factory default settings and technical specifications for the 5 GHz Wireless-N HD Access Point/Bridge WNHDE111.
Table A-1. Wireless-N AccessPoint/Bridge Default Configuration Settings
Feature Login Login URL Login Name Login Password (case-sensitive) printed on product label Local Network http://www. [. . . ]
DISCLAIMER TO DOWNLOAD THE USER GUIDE NETGEAR WNHDE111 Lastmanuals offers a socially driven service of sharing, storing and searching manuals related to use of hardware and software : user guide, owner's manual, quick start guide, technical datasheets...manual NETGEAR WNHDE111


