Detailed instructions for use are in the User's Guide.
[. . . ] En
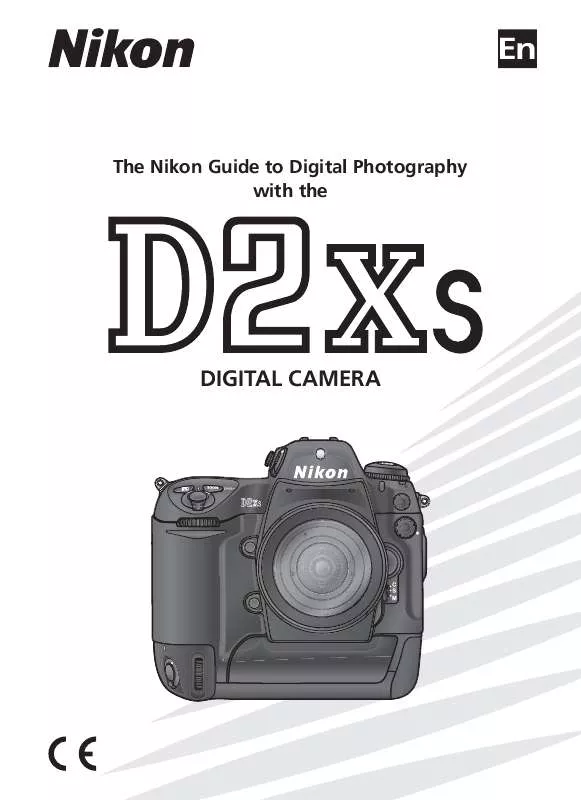
The Nikon Guide to Digital Photography with the
DIGITAL CAMERA
Product Documentation
The documentation for this product includes the manuals listed below. Please be sure to read all instructions thoroughly to get the most from your camera. Quick Start Guide The Quick Start Guide takes you through the process of unpacking and setting up your Nikon digital camera, taking your first photographs, and transferring them to your computer. Guide to Digital Photography The Guide to Digital Photography (this manual) provides complete operating instructions for your camera. [. . . ] Only use Auto if the subject is in direct sunlight. Interval Timer Photography If interval timer photography is activated before the first exposure is taken, the camera will record exposures at the selected interval until the number of exposures specified in the multiple exposure menu have been taken (the number of shots listed in the interval timer shooting menu is ignored). These exposures will then be recorded as a single photograph and multiple exposure mode and interval timer shooting will end. Note that unless No limit is selected for Custom Setting c3 (Auto meter-off; 196) or the camera is powered by an AC adapter, shooting will end automatically if no operations are performed for 30 s; when recording a multiple exposure using the interval timer, choose an interval of less than 30 s, select No limit for Custom Setting c3 (Auto me196), or use an AC adapter. Cancelling multiple exposure cancels interval ter-off; timer shooting. Bracketing and Other Settings Bracketing is cancelled when multiple exposure is selected and can not be restored until shooting has ended. Settings that can not be changed during a multiple exposure can not be selected once the first picture has been taken. Two Button Reset ( 136) Multiple exposure settings are not affected when a two-button reset is performed. Performing a two-button reset does not cancel multiple exposure mode.
122
Trimming Photographs
Creating Cropped Copies To create a cropped copy of an existing photograph:
1 2 3 4
Highlight Trim in the shooting menu ( 168) and press the multi selector to the right.
Taking Photographs--Trimming Photographs
Press the multi selector up, down, left, or right to highlight the desired image. To view the highlighted image full frame, press the button. Press the center of the multi selector to select the highlighted image. The selected image will be displayed full frame.
Press the button and rotate the main command dial to choose the size of the crop. To change the position of the crop, press the multi selector up, down, left, or right while the button is pressed.
Trimming Trimming is available only with photographs taken with the D2Xs. The D2Xs can not be used to tirm photographs taken with other cameras. If a photograph taken at a setting of NEF (RAW) + JPEG is selected, trimming will apply to the NEF (RAW) image. Cropped copies can not be selected for trimming.
123
5
Press the button to create a cropped copy of the image, or press the button to return to the shooting menu without creating a copy. Cropped copies are saved as FINE-quality JPEG images named by adding one to the current file number. Depending on the size of the crop, copies will be 2, 540 × 1, 920, 1, 920 × 1, 440, 1, 280 × 960, 960 × 720, or 640 × 480 pixels in size. Cropped copies have the same white balance, shooting data, and image optimization settings as the original. Camera orientation ( 167) is not copied to the new file, with the result that all cropped copies are displayed in "wide" (landscape) orientation during playback. Any voice memos associated with the original are not copied.
Taking Photographs--Trimming Photographs
124
Interval Timer Photography
Taking Photographs at Preset Intervals The D2Xs is equipped to take photographs automatically at preset intervals.
1 2
Highlight Intvl timer shooting in the shooting menu ( 168) and press the multi selector to the right.
Taking Photographs--Interval Timer Photography
Press the multi selector left or right to highlight options and press the multi selector up or down to change interval timer settings. The following options are available:
Option Start
Description Choose starting for interval timer photography from: · Now: Shooting begins about 3 s after this option is selected · Start time: Shooting begins at Start time Enter start time for interval timer photography when Start time is selected for Start. [. . . ] See autofocus; focus mode; manual focus Focus area (focus brackets), 10, 7681 Focus lock, 82 Focus mode, 7475 Focusing screen, 248, 254 type B BriteView III, 248 type E clear matte III, 248 Folders, 158, 172, 199, 240 FV lock, 114, 208 G GPS, 135 data, 140 Group dynamic-AF. See AFarea mode H HI-1/HI-2, 5253 Highlight display, 141, 166 High-speed crop, 4142 in viewfinder, 1011 mode, 4142 Histogram, 140, 166 RGB, 141, 166 I Illuminator. See Backlight, control panel Image authentication, 231 Image dust off, 221222 Image files, 47, 5051, 199 Image overlay, 118119 Image sensor, 256, 261 Image size, 4849 Image quality, 4548
Index
272
ISO sensitivity, 5253. See also SHOOTING MENU, ISO sensitivity ISO auto, 191 i-TTL flash control, 108 J JPEG, 4547 L L. [. . . ]


 NIKON D2XS BROCHURE (1660 ko)
 NIKON D2XS QUICK START GUIDE (4927 ko)
