Detailed instructions for use are in the User's Guide.
[. . . ] m-5000
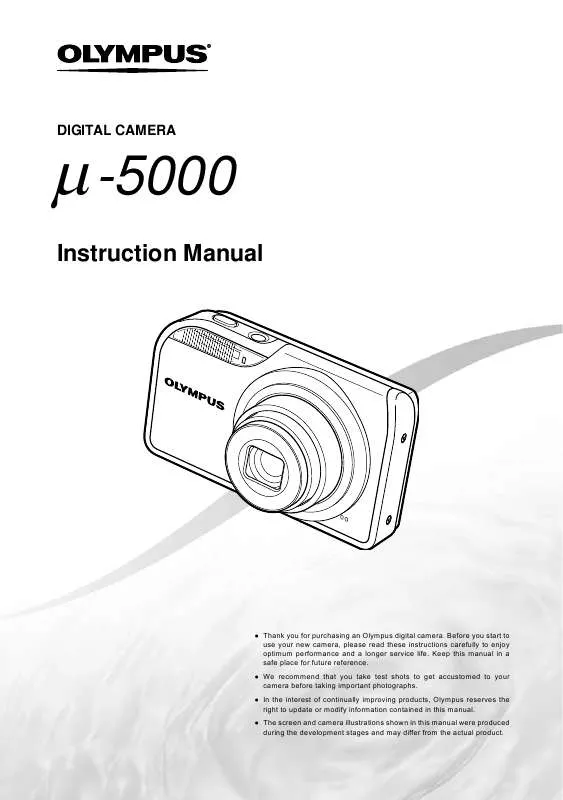
DIGITAL CAMERA
Instruction Manual
ThankyouforpurchasinganOlympusdigitalcamera. Beforeyoustartto useyournewcamera, pleasereadtheseinstructionscarefullytoenjoy optimumperformanceandalongerservicelife. Keepthismanualina safeplaceforfuturereference. We recommend that you take test shots to get accustomed to your camerabeforetakingimportantphotographs. Intheinterestofcontinuallyimprovingproducts, Olympusreservesthe righttoupdateormodifyinformationcontainedinthismanual. Thescreenandcameraillustrationsshowninthismanualwereproduced duringthedevelopmentstagesandmaydifferfromtheactualproduct.
Step
1
Strap LI-42BLithium-IonBattery LI-41CBatteryCharger
Checking the contents of the box
DigitalCamera
USBCable
AVCable
OLYMPUSMaster2 CD-ROM
microSD Attachment
Otheraccessoriesnotshown:InstructionManual(thismanual), warrantycard Contentsmayvarydependingonpurchaselocation.
Step
2 4
Step
3 5
Preparing the Camera
"PreparingtheCamera"(p. 10)
Shooting and Playing Back Images
"Shooting, Playback, andErasing"(p. 14)
Step
Step
How to Use the Camera
"ThreeWaystoAdjustSettings"(p. 3)
Printing
"Directprinting(PictBridge)"(p. 42) "PrintReservations(DPOF)"(p. 45)
Contents
Names of Parts . . . . . . . . . . . . . . . . . . . . . . . . . . . . . . . [. . . ] If necessary, repeat Step 4, and then press the E button when finished. Use AB to select the [X] (date print) screen option, and press the E button.
Thesettingsareappliedtotheremainingimageswith
theprintreservationdata.
2 3 4
Reserving one print each of all images on the card [U]
1 2 3
Follow Steps 1 and 2 in [<] (p. Use AB to select [U], and press the E button. Follow Steps 5 to 6 in [<].
5 6
Resetting all print reservation data
1 2
Set the mode dial to q, and then press the button to display the top menu. Use ABCD to select [L PRINT ORDER], and press the E button.
7
Use AB to select [SET], and press the E button.
46
EN
Using OLYMPUS Master 2
System requirements and installation of OLYMPUS Master 2
InstalltheOLYMPUSMaster2softwareby referringtotheincludedinstallationguide.
Windows Afterthecomputerdetectsthecamera, a messageindicatingthesuccessoftheoperation willappear. Confirmthemessagebyclicking "OK. " Thecameraisrecognizedasaremovabledisk. Macintosh WheniPhotostarted, exitiPhotoandstart OLYMPUSMaster2. Whilethecameraisconnectedtothe computer, shootingfunctionsaredisabled. Connectingthecameratoacomputerviaa USBhubmaycauseunstableoperation. When[MTP]issetforthesubmenuthat appearsbypressingDafterselecting[PC] inStep3, imagescannotbetransferredtoa computerusingOLYMPUSMaster2.
Connecting the camera to a computer
1 2
Make sure the camera is turned off.
Themonitorisoff. Thelensisretracted.
Connect the camera to a computer.
Thecameraautomaticallyturnson.
Multi-connector
Starting OLYMPUS Master 2
1
USBcable(supplied)
Double-click the OLYMPUS Master 2 icon.
Windows appearsonthedesktop. Macintosh appearsintheOLYMPUSMaster2folder.
USB
Browsewindowappearsafterstartingthe
software.
PC EASY PRINT CUSTOM PRINT EXIT
SET OK
WhenOLYMPUSMaster2isstartedforthe firsttimeafterinstallation, "DefaultSettings" and"Registration"screenswillappear. Follow theinstructionsonthescreen.
LocatethepositionoftheUSBportbyreferring toyourcomputer'sinstructionsmanual.
3
Use AB to select [PC], and press the E button.
Thecomputerautomaticallydetectsthecameraasa
newdeviceonthefirstconnection.
EN
47
Operating OLYMPUS Master 2
WhenOLYMPUSMaster2isstarted, aQuick StartGuidewillappearonthescreentohelp youbecomefamiliarwiththesoftware. Ifthe QuickStartGuideisnotdisplayed, click in thetoolbartoshowtheGuide.
Fordetailsontheoperation, refertothehelp guideofthesoftware.
Transferring and saving images without using OLYMPUS Master 2
ThiscameraiscompatiblewiththeUSBMass StorageClass. Youcantransferandsavethe imagedataonyourcomputerwhilethecameraand thecomputerareconnected.
System requirements
Windows : Windows2000Professional/ XPHomeEdition/ XPProfessional/Vista Macintosh : MacOSXv10. 3orlater
OnacomputerrunningWindowsVista, if [MTP]issetforthesubmenuthatappearsby pressingDafterselecting[PC]inStep3of "Connectingthecameratoacomputer"(p. 47), WindowsPhotoGallerywillbecomeavailable. EvenifacomputerhasUSBports, proper operationisnotguaranteedinthefollowing cases:
ComputerswithUSBportsinstalledusingan
expansioncard, etc.
Computerswithoutafactory-installedOSand
home-builtcomputers
48
EN
Usage Tips
Ifthecameradoesnotworkasintended, orifan errormessageisdisplayedonthescreen, andyou areunsureofwhattodo, refertotheinformation belowtofixtheproblem(s).
Withprolongedcamerause, theinternaltemperature
mayincrease, resultinginautomaticshutdown. If thisoccurs, removethebatteryfromthecameraand waituntilthecamerahassufficientlycooled. The camera'sexternaltemperaturemayalsoincrease duringuse, howeverthisisnormalanddoesnot indicatemalfunction.
Troubleshooting
Monitor Battery
"The camera does not work even when battery is installed. "
"It is difficult to see the image on the monitor. "
Insertrechargedbatteryinthecorrectdirection.
"Chargingthebattery"(p. 10), "Loadingthebattery andthexD-PictureCardTM(soldseparately)intothe camera"(p. 11)
Condensation*1mayhaveformedinsidethemonitor.
Turnoffthepower, andwaitforthecamerabodyto becomeacclimatedtothesurroundingtemperature anddryoutbeforetakingpictures.
*1
Batteryperformancemayhavebeenreduced
temporarilyduetolowtemperature. Takethebattery outofthecameraandwarmthembyputtingthemin yourpocketforawhile.
Dewdropscanforminthecamerawhenitis suddenlytakenfromacoldlocationintoawarm, humidroom.
"Vertical lines appear on the screen. "
Verticallinesmayappearonthescreenwhenthe
cameraispointedatanextremelybrightsubjectin situationssuchasclearweatherconditions. Thelines donotappear, however, inthefinalstillimage.
Card/Internal memory
"An error message is displayed. "
"Errormessage"(p. 50)
"The light is caught in the picture"
Shootingwithflashindarksituationsresultsinan
imagewithmanyflashreflectionsondustintheair.
X
Y
MD
TIME
Shutter button
"No picture is taken when the shutter button is pressed. "
Date and time function
Setthemode dialtoapositionotherthanq. Cancel sleep mode
Tosavebatterypower, thecameraautomaticallygoes intosleepmodeandthemonitorturnsoffifthereis nooperationfor3minuteswhenthecameraisturned on. Nopictureistakeneveniftheshutterbuttonis fullypressedinthismode. Operatethezoombutton orotherbuttonstorestorethecamerafromsleep modebeforetakingapicture. Ifthecameraislefton for12minutes, itautomaticallyturnsoff. Pressthe Kbuttontoturnthecameraon.
"Date and time settings return to the default setting. " CANCEL
MENU
---- -- -- -- --
YMD
Ifthebatteryisremovedandleftoutofthecamera
*2
forabout3days , thedateandtimesettingsreturnto thedefaultsettingsandmustbereset.
*2
Thetimeuntilthedateandtimesettingsreturn tothedefaultsettingvariesdependingonhow longthebatteryhasbeenloaded.
"Settingthedateandtime"(p. 13)
Waituntil#(flashcharge)stopsblinkingbefore
takingpictures.
Other
"There is a noise coming from inside the camera during shooting. "
Themovementofthelensmaymakeanoiseeven
ifthecameraisnotbeingoperatedbecausethe autofocusfunctionisactivewhenthecameraisready toshoot.
EN
49
Error message
Whenoneofthemessagesbelowisdisplayed onthemonitor, checkthecorrectiveaction. Error message Corrective action
Card problem Insertanewcard. Card problem Useacomputertocancelthereadonlysetting. Internal memory problem · Insertacard. · Eraseunwantedimages. *1 Card problem · Replacethecard. · Eraseunwantedimages. *1 Card problem · UseABtoselect[CLEAN CARD], andpresstheEbutton. Takeoutthecard, wipethe contactarea(p. 55)withasoft, drycloth, andthenloadthecard again. · UseABtoselect[FORMAT], andpresstheEbutton. Next, useABtoselect[YES], and thenpresstheEbutton. *2 Internal memory problem UseABtoselect[MEMORY FORMAT], andpresstheEbutton. Next, useABtoselect[YES], and presstheEbutton. *2 Internal memory/Card problem Takepicturesbeforeviewingthem. Problem with selected image Usephotoretouchingsoftware, etc. , toviewtheimageona computer. Iftheimagestillcannot beviewed, theimagefileis corrupted. [. . . ] p. 56
O
OLYMPUSMaster2. . . . . . . . . . . . . . . . p. 2, 2948 Opticalzoom . . . . . . . . . . . . . . . . . . . . . . . . . . . . . . . . . . . . p. 19 .
U
USBCable. . . . . . . . . . . . . . . . . . . . . . . . . . . . . . p. 2, 42, 47
P
PAL. . . . . . . . . . . . . . . . . . . . . . . . . . . . . . . . . . . . . . . . . . . . . . . . . . . [. . . ]


