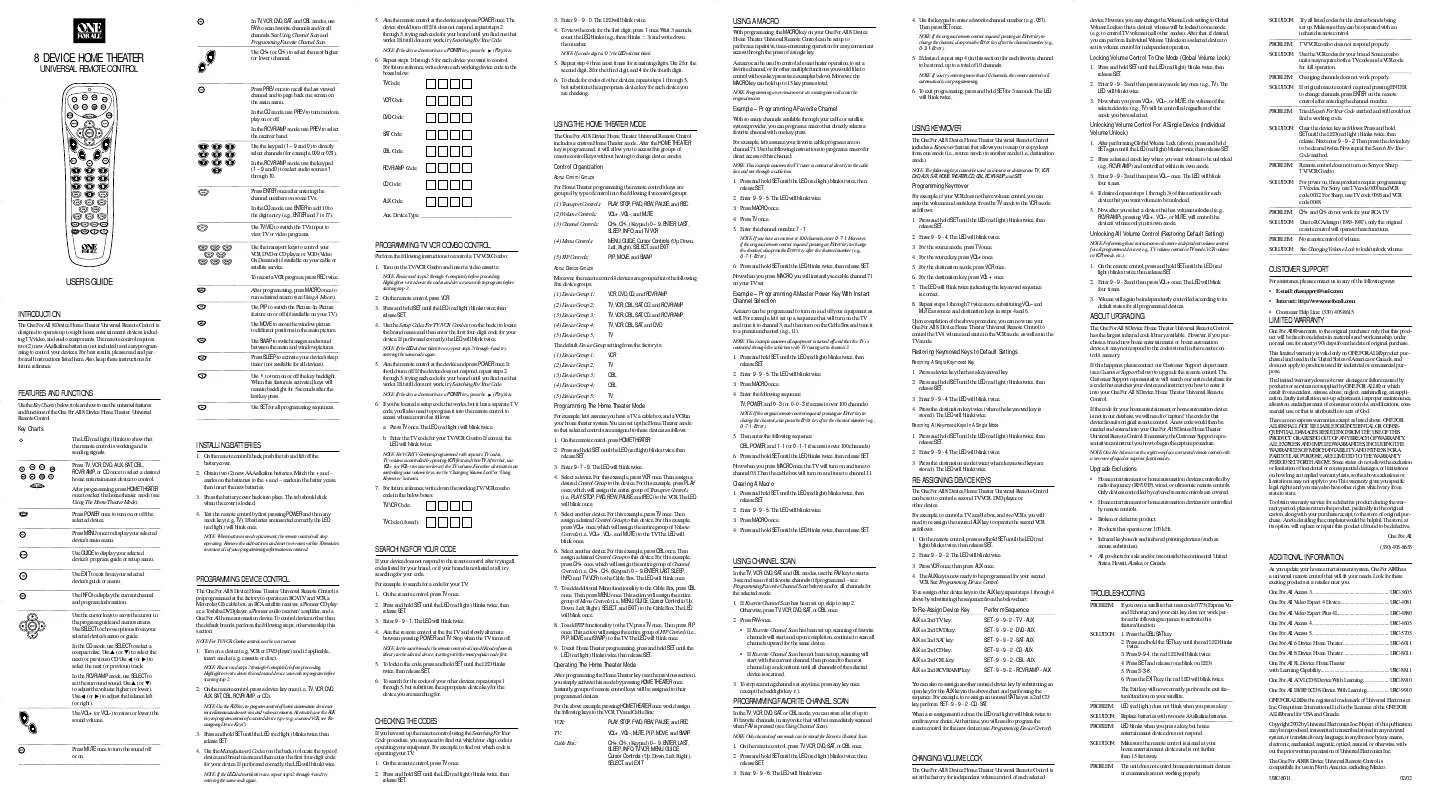
Detailed instructions for use are in the User's Guide.
[. . . ] In TV, VCR, DVD, SAT, and CBL modes, use FAV to scan favorite channels and/or all channels. See Using Channel Scan and Programming Favorite Channel Scan.
5. Aim the remote control at the device and press POWER once. If it does not respond, repeat steps 2 through 5, trying each code for your brand until you find one that works. [. . . ] If the device does not respond, repeat steps 2 through 5, trying each code for your brand until you find one that works. If it still does not work, try Searching For Your Code.
NOTE: If the device does not have a POWER key, press the (Play) key.
1. Press and hold SET until the LED (red light) blinks twice, then release SET. Enter the following sequence: TV, POWER, and 0 - 3 (or 0 -0 - 3 if access is over 100 channels)
NOTE: If the original remote control required pressing an Enter key to change the channel, also press the Enter key after the channel number (e. g. , 0 -7-1-Enter).
Restoring Keymoved Keys to Default Settings
Restoring A Single Keymoved Key
1. Press a device key that has a keymoved key. Press and hold SET until the LED (red light) blinks twice, then release SET. Press the destination key twice (where the keymoved key is stored). The LED will blink twice.
Restoring All Keymoved Keys In A Single Mode
FEATURES AND FUNCTIONS
Use the Key Charts (below) to learn how to use the universal features and functions of the One For All 8 Device Home Theater Universal Remote Control.
6. If you've located a setup code that works, but it has a separate TV code, you'll also need to program it into the remote control to access volume control as follows: a. Enter the TV code for your TV/VCR Combo. If correct, the LED will blink twice.
NOTE: For VCR/TV Combos programmed with separate TV codes, TV volume is controlled by pressing VCR first and then TV. After that, use VOL+ (or VOL-) to raise (or lower) the TV volume. For other alternatives on controlling your volume keys, see the "Changing Volume Lock" or "Using Keymover" sections.
Programming The Home Theater Mode
For example, let's assume you have a TV, a cable box, and a VCR in your home theater system. You can set up the Home Theater mode so that selected controls are assigned to these devices as follows: 1. On the remote control, press HOME THEATER. Press and hold SET until the LED (red light) blinks twice, then release SET. Then assign a desired Control Group to the device. For this example, press PLAY once, which will assign the entire group of Transport Controls (i. e. , PLAY, STOP, FWD, REW, PAUSE, and REC) to the VCR. Then assign a desired Control Group to this device. For this example, press VOL+ once, which will assign the entire group of Volume Controls (i. e. , VOL+, VOL-, and MUTE) to the TV. Then assign a desired Control Group to this device. For this example, press CH+ once, which will assign the entire group of Channel Controls (i. e. , CH+, CH-, (Keypad) 0 ~ 9, ENTER, LAST, SLEEP, INFO, and TV/VCR) to the Cable Box. To add additional Menu functionality to the Cable Box, press CBL once. [. . . ] In the CD mode, use SELECT to select a compact disc. Use v (or w) to select the next (or previous) CD. Use (or ) to select the next (or previous) track.
v
To Re-Assign Device Key
AUX as 2nd TV key: AUX as 2nd DVD key: AUX as 2nd SAT key: AUX as 2nd CD key: AUX as 2nd CBL key: AUX as 2nd RCVR/AMP key:
Perform Sequence
SET - 9 - 9 - 2 - TV - AUX SET - 9 - 9 - 2 -DVD- AUX SET - 9 - 9 - 2 -SAT- AUX SET - 9 - 9 - 2 -CD- AUX SET - 9 - 9 - 2 -CBL- AUX SET - 9 - 9 - 2 - RCVR/AMP - AUX
1. Turn on a device (e. g. , VCR or DVD player) and, if applicable, insert media (e. g. , cassette or disc).
NOTE: Please read steps 2 through 4 completely before proceeding. [. . . ]


 ONE FOR ALL URC-8011 WITH CODE (536 ko)
