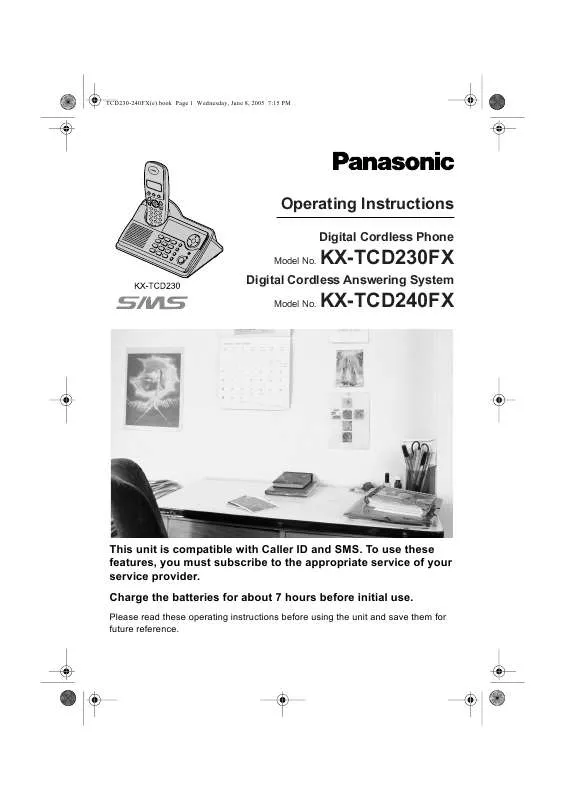
Detailed instructions for use are in the User's Guide.
[. . . ] TCD230-240FX(e). book Page 1 Wednesday, June 8, 2005 7:15 PM
Operating Instructions
Digital Cordless Phone
Model No.
KX-TCD230FX KX-TCD240FX
Digital Cordless Answering System
Model No.
This unit is compatible with Caller ID and SMS. To use these features, you must subscribe to the appropriate service of your service provider. Charge the batteries for about 7 hours before initial use.
Please read these operating instructions before using the unit and save them for future reference.
TCD230-240FX(e). book Page 2 Wednesday, June 8, 2005 7:15 PM
Introduction
Introduction
Thank you for purchasing a new Panasonic digital cordless phone. For your future reference Attach or keep original receipt to assist with any repair under warranty. [. . . ] If you select "No Ringing", the base unit will not ring during night mode.
4 Select "Ringer Setup", then press
{>}.
1 Press {j/OK}. 2 Select "Base Unit Setup", then
press {>}.
5 Select "Night Mode", then press {>}. 6 Select "Start/End", then press {>}. 7 Enter the desired hour and minute you
wish to start this feature by selecting 2 digits for each. L If you use 12-hour time entry, select "AM" or "PM" by pressing {*} repeatedly before entering the time.
3 Enter "0000" (default base unit PIN).
L If you changed the PIN, enter it (page 35).
4 Select "Ringer Setup", then press
{>}.
5 Select "Night Mode", then press {>}. 6 Select "Ring Delay", then press {>}. 7 Select the desired setting, then press
{>}.
8 Enter the desired hour and minute you
wish to end this feature by selecting 2 digits for each. L If you use 12-hour time entry, select "AM" or "PM" by pressing {*} repeatedly before entering the time.
8 Press {ih}.
Note: L When the answering system answers the call, this feature does not work (KXTCD240 only).
33
TCD230-240FX(e). book Page 34 Wednesday, June 8, 2005 7:15 PM
Base Unit Settings
Call options
Changing the recall time
Change the recall time, if necessary, depending on the requirements of your service provider or PBX.
Storing/changing emergency numbers
These settings determine which phone numbers can be dialled while the call bar feature is on (page 30).
1 Press {j/OK}. 2 Select "Base Unit Setup", then
press {>}.
1 Press {j/OK}. 2 Select "Base Unit Setup", then
press {>}.
3 Enter "0000" (default base unit PIN).
L If you changed the PIN, enter it (page 35).
3 Enter "0000" (default base unit PIN).
L If you changed the PIN, enter it (page 35).
4 Select "Call Options", then press
{>}.
4 Select "Call Options", then press
{>}.
5 Select "Emergency No. ", then press
{>}.
5 Select "Recall", then press {>}. 6 Select the desired setting, then press
{>}.
6 Select a memory location, then press
{>}. L If the memory location already contains an emergency number, the number is displayed.
7 Press {ih}. Setting pause length
Change the pause length, if necessary, depending on the requirements of your service provider or PBX.
7 Enter/edit the number, then press
{j/OK}. L To erase an emergency number, press and hold {C/T}.
1 Press {j/OK}. 2 Select "Base Unit Setup", then
press {>}.
8 Press {ih}. Setting call restriction
You can restrict the base unit or selected handsets from dialling certain numbers. Storing area codes here will prevent the restricted extensions (the base unit or selected handsets) from dialling any phone number in that area code. Important: L Call restriction can be set using handset 1 only. (To confirm which handset is handset 1, press {x} and {1} on the base unit. Handset 1 will ring. )
3 Enter "0000" (default base unit PIN).
L If you changed the PIN, enter it (page 35).
4 Select "Call Options", then press
{>}.
5 Select "Pause Length", then press
{>}.
6 Select the desired setting, then press
{>}.
7 Press {ih}.
1 Press {j/OK}.
34
TCD230-240FX(e). book Page 35 Wednesday, June 8, 2005 7:15 PM
Base Unit Settings 2 Select "Base Unit Setup", then
press {>}.
3 Enter "0000" (default base unit PIN).
L If you changed the PIN, enter it (page 35).
1 Press {j/OK}. 2 Select "Base Unit Setup", then
press {>}.
3 Enter "0000" (default base unit PIN).
L If you changed the PIN, enter it (page 35).
4 Select "Call Options", then press
{>}.
5 Select "Call Restrict", then press
{>}. L The base unit extension number "0" and the extension numbers of all registered handsets are displayed.
4 Select "Call Options", then press
{>}.
5 Select "Call Bar", then press {>}. [. . . ] L When an error code is displayed, "Q" will not be displayed even if you have read the message.
"FD" is displayed.
"FE" is displayed. "E0" is displayed.
"Q" is not displayed after you read a message. An error code ("FD", "FE", or "E0") is displayed.
Answering system (KX-TCD240 only)
Problem The other party complains that they cannot leave a message. Cause & solution L The recording time is set to "Greeting Only". [. . . ]


