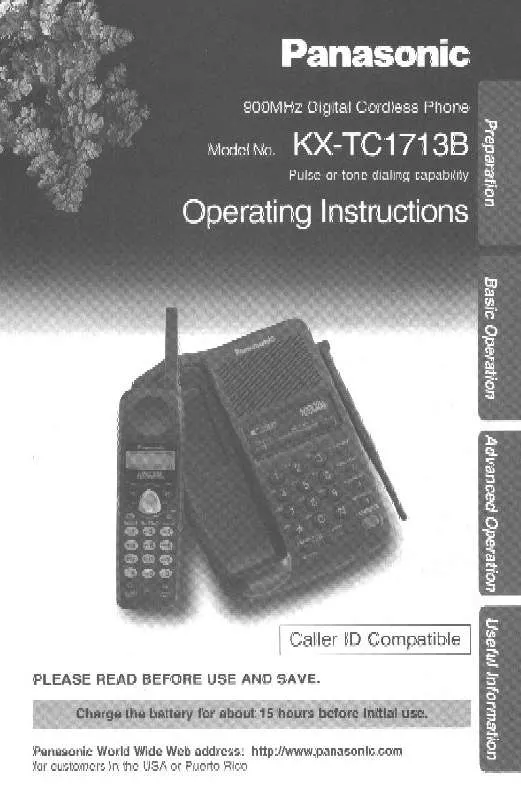
Detailed instructions for use are in the User's Guide.
[. . . ] Read and understand all instructions.
Caller ID and Call Waiting Service, where available, are telephone company services. After subscribing to Caller ID this phone will display a caller's name and phone number. Call Waiting Caller ID, which displays a second caller's name and phone number while the user is on another call, requires a subscription to both Caller ID and Call Waiting with Caller ID Services (CWID).
Attach your purchase receipt here. Trademarks:
openLCR, openLCR. com, and the openLCR logo are the trademarks of openLCR. com, Inc.
Accessories (included)
For extra orders, call 1-800-332-5368. [. . . ] 2 Scroll to "Initial setting" by pressing [d]
or [B], then press Select.
Initial setting Set tel line
KBack dB SelectL
3 Scroll to "Set tel line" by pressing [d] or
[B], then press Select.
KBack dB SelectL
4 Scroll to "Set flash time" by pressing [d]
or [B], then press Select.
Set flash time
KBack dB SelectL
5 Select the desired time by pressing [d] or [B]. 46
Set flash time :700ms KBack dB SaveL
Special Features Incoming Call Tone Handset
During an intercom call (p. 41), you can be informed of incoming calls by two tones. If this feature is turned on, incoming call tones will be heard for as long as the line is ringing. If this feature is set to "2", incoming call tones will be heard only 2 times. If this feature is turned off, no tones will be heard. The factory preset is "2".
1 Press [MENU]. 2 Scroll to "Ringer setting" by pressing [d]
or [B], then press Select.
Ringer setting Incoming call.
KBack dB SelectL
3 Scroll to "Incoming call. " by pressing [d]
or [B], then press Select.
Telephone System
KBack dB SelectL
4 Select "On", "Off" or "2" by pressing [d] or
[B].
Incoming call tone :2 KBack dB SaveL
5 Press Save, then press [OFF].
Key Tone Handset
You can select whether or not the handset keys will sound tones (key tone, confirmation tone, error tone). The factory preset is ON.
1 Press [MENU]. 2 Scroll to "Initial setting" by pressing [d]
or [B], then press Select.
Initial setting Key tone
KBack dB SelectL
3 Scroll to "Key tone" by pressing [d] or [B],
then press Select.
KBack dB SelectL
4 Select "Off" or "On" by pressing [d] or [B].
Key tone :On KBack dB
SaveL
5 Press Save, then press [OFF].
For assistance, please call: 1-800-211-PANA(7262)
47
Special Features Re-registering the Handset Handset & Base Unit
If "No link to base. Move closer to base, try again. " is displayed even when using the handset near the base unit, the handset may have lost communication with the base unit. · You can also turn on the Answering System remotely from an outside phone (p. · If you subscribe to Caller ID (p. 27), Caller ID information automatically adjusts the date and time when a call is received, provided you have already set the date and time manually (p. 14).
Answering System
Handset 1 Press [MENU]. 2 Press Select at "Message play". 3 Press [8] to turn on the Answering System.
· "Answer set" is heard.
4 Press [OFF].
· To turn the Answering System off, press [0] in step 3. For assistance, please call: 1-800-211-PANA(7262)
49
Automatic Answering Operation Monitoring Incoming Calls Base Unit
While a caller is leaving a message, you can monitor the call through the base unit speaker. · To increase the speaker volume while monitoring, press VOLUME [>]. To decrease the volume, press VOLUME [<]. To answer a call while monitoring, press [C] or [s] on the handset.
To turn the incoming call monitoring feature off When the base unit is not in use, press [GREETING CHECK], then press VOLUME [<] repeatedly until "0" is displayed. (Make sure the Answering System is turned on. ) OR While monitoring, press VOLUME [<] repeatedly until "0" is displayed.
· If the incoming call monitoring feature is turned off, it will remain off when the next call is monitored. [. . . ] Include a letter detailing the complaint and provide a day time phone number where you can be reached. IF REPAIR IS NEEDED DURING THE LIMITED WARRANTY PERIOD THE PURCHASER WILL BE REQUIRED TO FURNISH A SALES RECEIPT/PROOF OF PURCHASE INDICATING DATE OF PURCHASE, AMOUNT PAID AND PLACE OF PURCHASE. CUSTOMER WILL BE CHARGED FOR THE REPAIR OF ANY UNIT RECEIVED WITHOUT SUCH PROOF OF PURCHASE.
Limited Warranty Limits And Exclusions
This Limited Warranty ONLY COVERS failures due to defects in materials or workmanship, and DOES NOT COVER normal wear and tear or cosmetic damage. The Limited Warranty ALSO DOES NOT COVER damages which occurred in shipment, or failures which are caused by products not supplied by the warrantor, or failures which result from accidents, misuse, abuse, neglect, mishandling, misapplication, alteration, faulty installation, set-up adjustments, misadjustment of consumer controls, improper maintenance, power line surge, lightning damage, modification, introduction of sand, humidity or liquids, commercial use such as hotel, office, restaurant, or other business or rental use of the product, or service by anyone other than a Factory Servicenter or other Authorized Servicer, or damage that is attributable to acts of God. [. . . ]


