Detailed instructions for use are in the User's Guide.
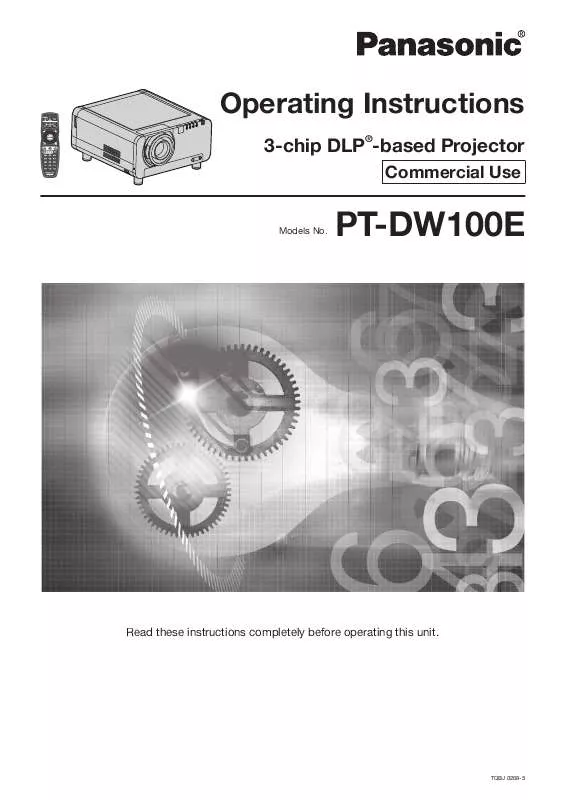
[. . . ] Operating Instructions
3-chip DLP®-based Projector
Commercial Use
Models No.
PT-DW100E
Read these instructions completely before operating this unit.
TQBJ 0268-5
Dear Panasonic Customer:
This instruction booklet provides all the necessary operating information that you might require. We hope it will help you to get the most performance out of your new product, and that you will be pleased with your Panasonic ® DLP based projector. The serial number of your product may be found on its back. You should note it in the space provided below and retain this booklet in case service is required. [. . . ] Furthermore, the noise reduction function cannot be used.
Raster position
When the whole area where the input picture can be displayed is not used, the picture can be moved to any position inside the display area.
1. Press to select "RASTER POSITION".
EDGE BLENDING FRAME DELAY RASTER POSITION OFF DEFAULT
2. Press ENTER.
· The "RASTER POSITION" screen will be displayed.
RASTER POSITION V H 0 0
3. Press to adjust the position.
When 4:3 pictures are displayed
Pressing button will move the image to the right.
Pressing button will move the image to the left.
4. Press MENU three times.
· The on-screen indications disappear and the normal screen appears again.
66 ENGLISH
Setting the DISPLAY LANGUAGE
Changing the display language
This lets you switch the on-screen display language.
1. Press to select the desired language.
MENU ENTER
DISPLAY LANGUAGE C ENGLISH DEUTSCH FRANÇAIS ESPAÑOL ITALIANO
2. Press ENTER to establish your selection.
· Menus, setting items, adjustment screens, and control button names will be displayed in the language the user chooses. · The available languages are: English, German (DEUTSCH), French (FRANÇAIS), Spanish (ESPAÑOL), Italian (ITALIANO), Japanese ( ), Chinese ( ), Russian ( ), and Korean ( ).
Note
This lets you switch the display language.
MENU
Press to display the MAIN MENU screen. Press to select "DISPLAY LANGUAGE". Press to display the "DISPLAY LANGUAGE" menu.
· The on-screen display of the projector is set to the English language on shipping.
MAIN MENU PICTURE POSITION ADVANCED MENU DISPLAY LANGUAGE DISPLAY OPTION PROJECTOR SETUP P IN P TEST PATTERN SIGNAL LIST SECURITY NETWORK MENU SELECT SUB MENU
ENTER
ENGLISH 67
Basic Operation
Display Option settings
Adjusting colour matching
When multiple sets are used simultaneously, this projector allows the user to correct the difference of colours among the sets.
MENU ENTER
1. Press to select "COLOR MATCHING".
DISPLAY OPTION COLOR MATCHING LARGE SCREEN CORRECTION OFF OFF
2. Press to switch "COLOR MATCHING".
· The setting will change as follows each time is pressed.
OFF MEASURED 3COLORS 7COLORS 709MODE
DEFAULT
This menu can be used to make a variety of picture and projector settings.
MENU
Press to display the MAIN MENU screen. Press to select "DISPLAY OPTION". Press to display the "DISPLAY OPTION" menu.
· OFF: Colour matching adjustment is not carried out. · 3COLORS: It is possible to adjust the 3colours of "RED", "GREEN" and "BLUE". · 7COLORS: It is possible to adjust the 7colours of "RED", "GREEN", "BLUE", "CYAN", "MAGENTA", "YELLOW" and "WHITE". · 709MODE: Refer to "Adjusting the colour matching using a colorimeter" on the next page for details on this mode. · MEASURED: Refer to "Adjusting the colour matching using a colorimeter" on the next page for details on this mode.
MAIN MENU PICTURE POSITION ADVANCED MENU DISPLAY LANGUAGE DISPLAY OPTION PROJECTOR SETUP P IN P TEST PATTERN SIGNAL LIST SECURITY NETWORK MENU SELECT SUB MENU
If "3COLORS" or "7COLORS" was selected in step 2. Press ENTER.
· The "3COLORS" or "7COLORS" screen will be displayed.
3COLORS RED GREEN BLUE AUTO TESTPATTERN
ON
ENTER
4. Press to select "RED", "GREEN" and "BLUE" (if "7COLORS" was selected, select "RED", "GREEN", "BLUE", "CYAN", "MAGENTA", "YELLOW", and "WHITE").
68 ENGLISH
5. Press ENTER.
· The "3COLORS:RED", "3COLORS:GREEN" or "3COLORS:BLUE" screen will be displayed. If you selected "7COLORS", the "7COLORS:RED", "7COLORS:GREEN", "7COLORS:BLUE", "7COLORS:CYAN", "7COLORS:MAGENTA", "7COLORS:YELLOW", or "7COLORS:WHITE" screen will be displayed.
3COLORS:RED RED GREEN BLUE 2048 0 0
2. [. . . ] A signal of a different resolution than the above data is converted to the number of display dots and then displayed. · Character "i" that follows the number of displayed dots stands for interlace signal. · Flicker (line flicker) will be caused in images if interlace signals are connected.
ENGLISH 121
Information
Appendix (continued)
List of P IN P
Subwindow
RGB input RGB1 YPbPr input RGB input RGB2 YPbPr input VIDEO input S-VIDEO input DVI Moving image system*3 RGB system*4 AUX ET-MD77DV ETET-MD77SD3/ MD77SD1 ET-MD100SD4*1 Moving image *2 system RGB system*4
Main window
RGB input RGB1 YPbPr input RGB input RGB2 YPbPr input VIDEO input S-VIDEO input Moving image system*3 DVI RGB system*4 ET-MD77SD1 ET-MD77SD3/ ET-MD100SD4*1 AUX ETMD77DV Moving image system*2 RGB system*4
× × × ×
× × × × × × × × × ×
× × × ×
× × × × × × × × × ×
× × × × × × × ×
× × × × × × × ×
× × × × × × × × ×
× ×
× × × × × × × × ×
× × × × × × × × ×
× × × × × × × × ×
× × × ×
: P IN P (Picture in Picture) combinations are enabled ×: P IN P (Picture in Picture) combinations are disabled *1 Only 480i, 576i, 720/60p, 720/50p, 1 035/60i, 1 080/60i, 1 080/50i, 1 080/24sF, 1 080/30p, 1 080/25p, and 1 080/24p are supported. *2 Only 480p, 576p, 720/60p, 720/50p, 1 080/60i, 1 080/50i, 1 080/24sF, 1 080/30p, 1 080/25p, 1 080/24p, 1 080/60p, and 1 080/50p are supported. [. . . ]


