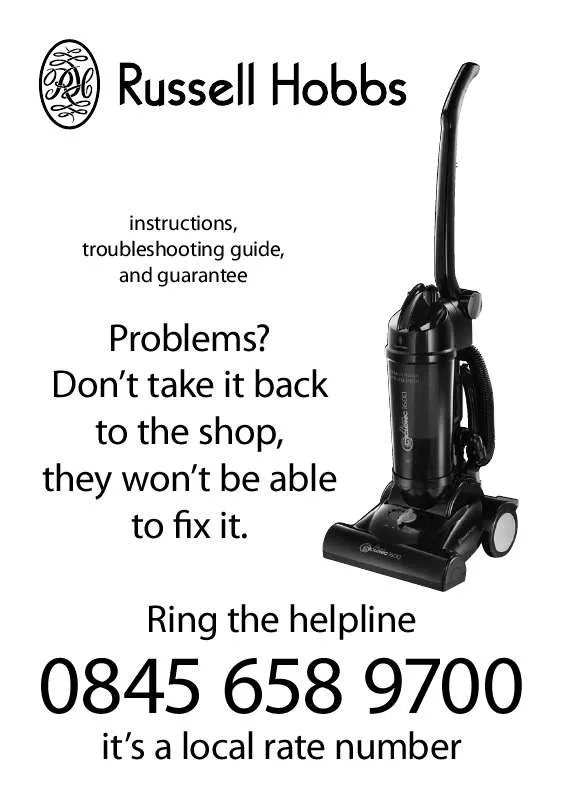
Detailed instructions for use are in the User's Guide.
[. . . ] instructions, troubleshooting guide, and guarantee
Problems?Don't take it back to the shop, they won't be able to fix it.
0845 658 9700
it's a local rate number
Ring the helpline
Read the instructions before using your vacuum cleaner, and keep them safe. If you pass the cleaner on, pass on the instructions too.
important safeguards
Follow basic safety precautions, including the ones below. It's quite a list, but most of them are simple common sense. [. . . ] 23 Align the bayonet fittings in the end of the HEPA filter with those in the centre of the lid. 24 Turn the filter about a centimetre clockwise, to lock it into the lid. 26 Align the arrow on the bin with the open padlock U on the lid. 27 Lower the filter into the bin you may have to jiggle it about a bit, to fit the bottom of the filter over the cone in the bottom of the bin. 28 Turn the lid, till the arrow is at the closed padlock L.
fit the bin to the cleaner
29 Fit the fibre filter into the space at the top of the base. There's a cut-out at the front, and a hole at one side, so it only fits one way. 31 Put the bottom of the bin into the space at the top of the base, on top of the fibre filter. 32 Straighten the bin, and push the bin lid against the mount at the top of the pillar. 33 You'll hear the bin release button click into place, locking the bin lid to the mount. 5
carrying the cleaner
35 Normally, you'd just grab it by the handle, and trundle it round on its wheels, but if you want to carry it upstairs, for instance, you need to be a bit more circumspect. 36 It's fairly heavy, and it's an awkward shape to carry, so, if the handle's folded, hold the cleaner by the bin lid handle, if the handle's upright, use the bin lid handle and the handle together.
what fits to what
37 Leave the bayonet fitting part of the hose attached to the cleaner. 38 The other end of the hose may be attached to the base tube, if you're using the cleaner as an upright, or to one of the tools, if you're not.
upright cleaning push the hose end over the base tube this connects the main brush, on the bottom of the cleaner, to use the cleaner upright crevice tool push the hose end over the crevice tool as its name implies, use this tool to reach down the sides of upholstery, and into awkward spaces, nooks, and crannies nothing else can reach crevice tool and push the hose end over the thick end of the extension tube, then extension tube push the thin end of the extension tube into the crevice tool use this to reach curtain rails, picture rails, and covings 6
small brush and push the hose end over the thick end of the extension tube, then extension tube push the thin end of the extension tube into the small brush use it to remove pet hair, lint, and dust from blinds, curtains, and upholstery; to brush/clean awkward corners
pedal
39 The pedal locks the cleaner and base together, for storage, or to use the tools. 40 To use the cleaner as an upright cleaner, press the pedal down with your toe, ease the handle back, then take your toe off the pedal. 41 This lets you push the cleaner back and fore, to vacuum the floor. 42 To lock the cleaner and base together again, raise the handle to the vertical position, then push it forward.
switch
43 Press and release the switch with your toe, to turn the motor on. 44 If you've finished, if you want to change the brush height for a different floor covering, if you want to change from using it upright to using the hose, or if you just want to stop for a cup of tea, press and release the switch with your toe, to turn the motor off. 45 That's the rear of the cleaner dealt with now for the front.
set the floor type
46 Tilt the handle back, to raise the cleaner slightly from the floor, to make moving the brush height control easier. 47 Set the brush height control to suit the floor covering short, medium, or long pile. 48 For bare floors like vinyl, stone, parquet, or when using the tools, set the control to long pile, to prevent the brush continually hitting the surface it's sitting on. 7
plug in caution If you've inadvertently kicked the switch, the cleaner may
start up when you plug it in press and release the switch with your toe to switch it off. 49 Turn the bottom cable hook upwards, to release the cable from the rear of the cleaner. 50 Use a socket near the area to be cleaned, plug in, and switch the socket on, if it's switchable.
press the pedal
51 Stand behind the cleaner, press the pedal down with your toe, ease the handle back, then take your toe off the pedal. [. . . ] Upend the cleaner, and snip any string, etc. Don't cut the bristles.
blockages
No matter how careful you are, sooner or later you're going to block the cleaner. Don't worry, we thought of that, we've fitted the motor with a temperature cut-out. A blockage will trigger the cut-out , and the motor will stop.
don't panic!
If the motor cuts out while you're vacuuming, don't panic, it's not the end of the world, you've probably just blocked it up. [. . . ]


