Detailed instructions for use are in the User's Guide.
[. . . ] ND750
INTRODUCTION
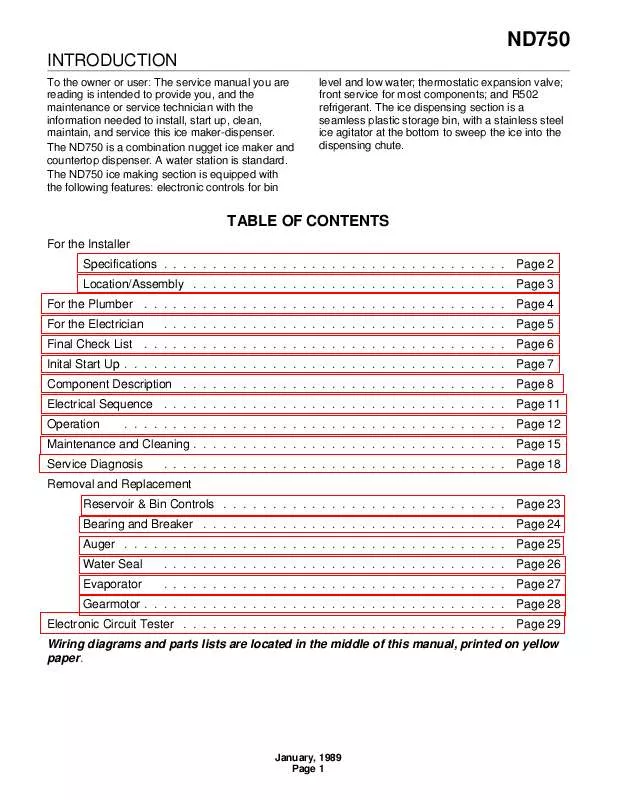
To the owner or user: The service manual you are reading is intended to provide you, and the maintenance or service technician with the information needed to install, start up, clean, maintain, and service this ice maker-dispenser. The ND750 is a combination nugget ice maker and countertop dispenser. The ND750 ice making section is equipped with the following features: electronic controls for bin level and low water; thermostatic expansion valve; front service for most components; and R502 refrigerant. The ice dispensing section is a seamless plastic storage bin, with a stainless steel ice agitator at the bottom to sweep the ice into the dispensing chute.
TABLE OF CONTENTS
For the Installer Specifications . [. . . ] Clean the auger and evaporator as required. Reverse to reassemble.
BREAKER AND AUGER ASSEMBLY
January, 1989 Page 17
ND750
SERVICE DIAGNOSIS: Condition - No Ice Being Produced
STATUS: ICE MAKER DOES NOT OPERATE
A. Check: Voltage to the unit, restore it if there is none. Check: The master switch, switch ON if off. Check: The 3 reset switches, (circuit board, high and low pressure): depress and release each switch. If the still does not start, check: the spout switch; the high and the low side pressures. Check the low pressure cut out, if closed, go to E; if it is open, it could be due to:
· Low refrigerant charge · The auger not turning · Restricted system · TXV not opening
1. Check the low side pressure, the low pressure cut out opens at pressure below 4 psig. Check if the auger is turning, if it is not, remove the gearbox and: Check for internal damage, repair and replace in the machine. Check for low charge, add some refrigerant, if the unit will operate, (normal low side pressure being about 30 psig) stop and look for a leak, repair, replace the drier, evacuate, and weigh in the nameplate charge. If, with added charge, the unit does not operate: Check for a restricted system, replace the drier, evacuate, and weigh in a nameplate charge. Check for a Thermostatic Expansion Valve that does not open, if defective, replace it. Replace the drier, evacuate, and weigh in the nameplate charge.
E. Check the high pressure cut out, if closed, go to F; if open: 1. The pressure control opens at 450 psig. Check the high side pressure, reset the control, and observe: on water cooled, that water soon begins to flow from the condenser drain; or, on air cooled, that the fan is forcing air through the condenser. If the unit trips out on pressures below 450 psig, replace the control. If the pressures rise above the trip out point, and the unit shuts down: a. Check for adequate water flow on water cooled, if adequate, clean the interior of the condenser. If the pressures are still too high replace the water regulating valve. Check for adequate air flow on air cooled. Clean the condenser and (if used) the filter. If the air flow is poor because of the installation, advise the user that the unit should be moved, or the air around it kept cooler. [. . . ] As you lower the cover onto the lower case, cover will have to be moved closer to the second gear after the output gear has cleared the second gear top bearing. E) After the case is together, and the locating pins are BEARING secure in both ends, replace all ROTOR SEAL cap screws. Bench test the GEAR & gearmotor, check BEARINGS for oil leaks, noise, and amp draw.
GEAR & BEARINGS
GASKET
GEAR CASE
January, 1989 Page 28
ND750
Circuit Board Testing
///////////////////////////////////////////////////////////////////////WARNING////////////////////////////////////////////////////////////////// These procedures require the machine to be connected to the power supply. The voltages of the electronic circuit are very low, but HIGHER VOLTAGES ARE PRESENT IN THE UNIT. [. . . ]


