Detailed instructions for use are in the User's Guide.
[. . . ] MULTIMEDIA PROJECTOR
MODEL
XG-PH50X XG-PH50X-NL SETUP GUIDE
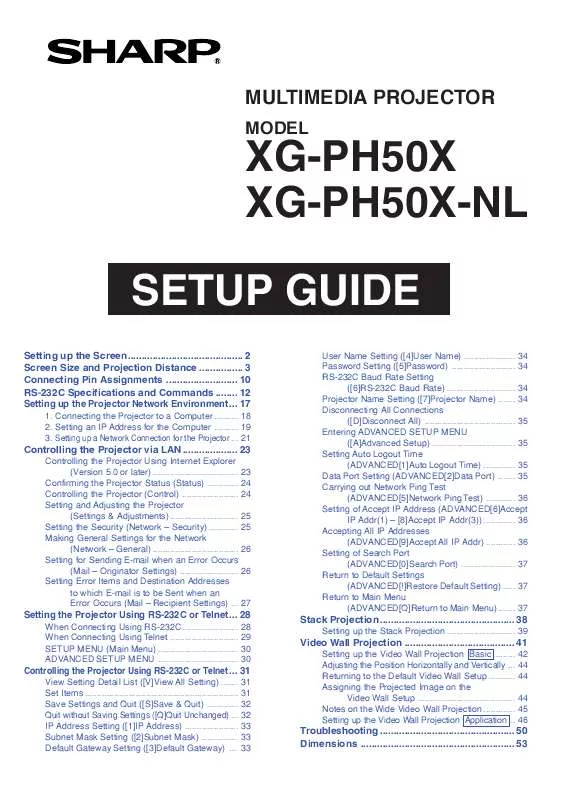
Setting up the Screen . . . . . . . . . . . . . . . . . . . . . . . . . . . . . . . . . . . . . . . . . . 2 Screen Size and Projection Distance . . . . . . . . . . . . . . . . 3 Connecting Pin Assignments . . . . . . . . . . . . . . . . . . . . . . . . . . 10 RS-232C Specifications and Commands . . . . . . . . [. . . ] · User Name and Password can be up to 8 characters. · You can input the characters below : a-z, A-Z, 0-9, -, _ · To cancel User Name and Password, enter nothing and then press "Apply" button.
Note
· If you click the "Refresh" button before the screen is displayed completely, an error message ("Server Busy Error") will be displayed. Wait for a moment and then operate again. · You cannot operate this page while the projector is warming up. · While the projector is in standby mode, you can only control "Power ON". · For details about each item, refer to the projector's operation manual.
-25
Controlling the Projector via LAN
Making General Settings for the Network (Network
General)
Setting for Sending E-mail when an Error Occurs
(Mail Originator Settings)
On this screen, you can make settings for sending e-mail to report when the projector has generated an error. On this screen, you can make general settings relating to the network.
Items Projector Name Auto Logout Time Description Setting the projector name. Setting the time interval in which the projector will be automatically disconnected from the network in units of a minute (from 1 to 65535 minutes). If the set value is made 0, the Auto Logout function is disabled. Setting the TCP port number used when exchanging a data with the projector (from 1025 to 65535). Setting the port number used when searching for the projector (from 1025 to 65535). Items SMTP Server Setting example / Remarks Setting an SMTP server address for e-mail transmission. e. g. 1 : 192. 168. 150. 253 e. g. 2 : smtp123. sharp. co. jp * When using a domain name, make settings for the DNS server. Setting the projector's e-mail address. The e-mail address set here becomes Originator E-mail Address. The name set here appears in the "Originator Name" column of the body of the message.
Originator E-mail Address Originator Name
Data Port
Search Port
Note
· SMTP Server, Originator E-mail Address and Originator Name can be up to 64 characters. · You can input the characters below: SMTP Server and Originator E-mail Address : a-z, A-Z, 0-9, !, #, $, %, &, *, +, -, /, =, ?, ^, {, |, }, ~, _, ', . , @, ` (You can input "@" only one time for "Originator E-mail Address". ) Originator Name : a-z, A-Z, 0-9, -, _, (, ), space · If the settings of "3. Setting up a Network Connection for the Projector" on pages 21 and 22 are incorrectly set, e-mail will not be send.
After clicking the "Apply" button, the set values appear. Confirm that the values are set properly, and then click the "Confirm" button.
Note
· After setting items, wait for 10 seconds and then re-access. · Projector Name can be up to 12 characters. · You can input the characters below : A-Z, 0-9, -, _, (, ), space (When "a-z" are input, they are converted to "A-Z" automatically. ) -26
Controlling the Projector via LAN
Setting Error Items and Destination Addresses to which E-mail is to be Sent when an Error Occurs
(Mail Recipient Settings)
On this screen, you can input e-mail destinations to which error notification (error items) e-mails are sent.
Items E-mail Address Description Set addresses to which error notification e-mail is sent. Error Mail Error e-mail is sent on the error (Lamp, Temp, items checked in their check Fan, Cover) boxes. [. . . ] The data port should be used for communication during the stack projection.
Note
· The factory default setting of the network setting for the projector IP address : 192. 168. 150. 2 Subnet mask : 255. 255. 255. 0 Gateway address : 0. 0. 0. 0 (Not Used) · For network settings for the projector, refer to page 21. -50
Troubleshooting
\ Take the following steps for checking the network settings for the computer. · In the case of Windows® 98 or 98SE: click "start" "Programs" "MS-DOS Prompt" in order. · In the case of Windows® Me: click "start" "Programs" "Accessories" "MS-DOS Prompt" in order. [. . . ]


 SHARP XG-PH50X (10057 ko)
 SHARP XG-PH50X SETUP GUIDE (3423 ko)
 SHARP XG-PH50X SETUP GUIDE (3396 ko)
 SHARP XG-PH50X OPERATION MANUAL (10080 ko)
 SHARP XG-PH50X INSTALLATION GUIDE (116 ko)
