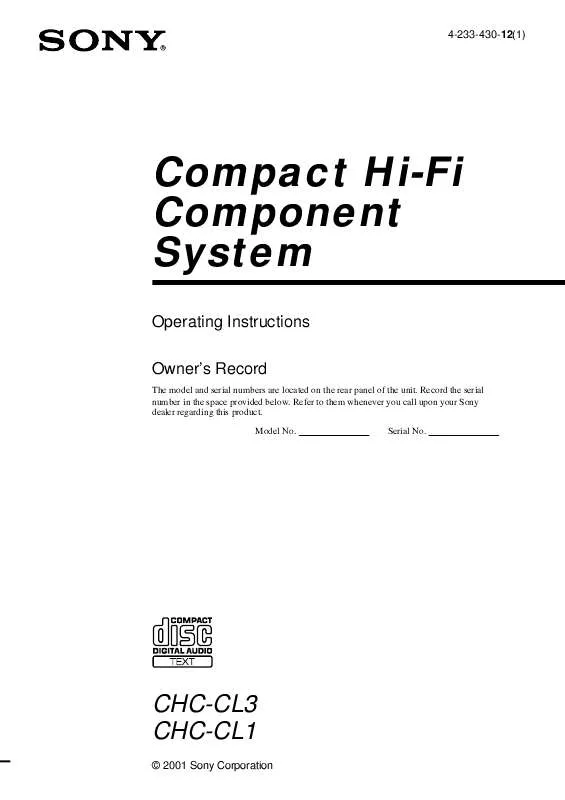
User manual SONY CHC-CL3
Lastmanuals offers a socially driven service of sharing, storing and searching manuals related to use of hardware and software : user guide, owner's manual, quick start guide, technical datasheets... DON'T FORGET : ALWAYS READ THE USER GUIDE BEFORE BUYING !!!
If this document matches the user guide, instructions manual or user manual, feature sets, schematics you are looking for, download it now. Lastmanuals provides you a fast and easy access to the user manual SONY CHC-CL3. We hope that this SONY CHC-CL3 user guide will be useful to you.
Lastmanuals help download the user guide SONY CHC-CL3.
You may also download the following manuals related to this product:
Manual abstract: user guide SONY CHC-CL3
Detailed instructions for use are in the User's Guide.
[. . . ] 4-233-430-12(1)
Compact Hi-Fi Component System
Operating Instructions Owner's Record
The model and serial numbers are located on the rear panel of the unit. Record the serial number in the space provided below. Refer to them whenever you call upon your Sony dealer regarding this product. Serial No.
CHC-CL3 CHC-CL1
© 2001 Sony Corporation
Warning
To prevent fire or shock hazard, do not expose the unit to rain or moisture.
To avoid electrical shock, do not open the cabinet. [. . . ] · If you open the lid while playing a tape, the deck stops playing. · The AMS feature may not work in the following cases: the blank space between tracks is four seconds or less. the TV is too close to the system.
17
Tape Recording
Recording a CD on a tape
-- CD-TAPE Synchro Recording
Selecting tape length automatically
-- Tape Select Edit
You can check the most suitable tape length for recording a CD. Note that you cannot use Tape Select Edit for discs containing over 20 tracks.
1 Load a blank tape. 3 Press CD SYNC.
The tape deck stands by for recording and the CD player pauses for play. When you want to record on the bottom side, press TAPE nN.
1 Load a CD. 2 Press FUNCTION repeatedly to switch
the function to CD.
3 Press EDIT.
"EDIT" starts flashing. The required tape length for the currently selected CD appears, followed by the total playing time for side A and side B.
4 Press PLAY MODE/DIRECTION
repeatedly until g appears to record on one side or h (or j) to record on both sides.
5 Press REC PAUSE/START.
Recording starts.
To stop recording
Press x.
Tips
· When you record on both sides, be sure to start from the top side. If you start from the bottom side, recording stops at the end of the bottom side. · If you select both sides recording and the tape reaches the end of the top side part-way through a track, the entire track is recorded again from the beginning of the bottom side. · You can record only your favorite CD tracks with Program Play. After step 2, follow the same procedures as step 1 to 6 in "Programing CD tracks" on page 11. Then go to step 4.
18
Recording on a tape manually
-- Manual Recording
You can record just the portions you like from a CD on a tape. The recording level is automatically adjusted.
Timer recording radio programs
To timer record, you must first preset the radio station (see "Presetting radio stations" on page 14) and set the clock (see "Setting the time" on page 8).
1 Tune in the preset radio station (see
"Listening to the radio" on page 15).
1 Load a blank tape. 2 Press FUNCTION repeatedly to select
the desired source to record.
2 Press CLOCK/TIMER SET on the
remote.
"DAILY SET ?" appears.
3 Press REC PAUSE/START.
The tape deck stands by for recording. When you want to record on the bottom side, press TAPE nN.
3 Turn . /> (or press . or > on
the remote) to select "REC SET ?", then press ENTER/YES on the remote.
Tape Recording
4 Press PLAY MODE/DIRECTION
repeatedly until g appears to record on one side or h (or j) to record on both sides.
"ON" appears and the hour indication flashes.
4 Set the time to start recording.
Turn . /> (or press . or > on the remote) to set the hour, then press ENTER/YES on the remote. or > on the remote) to set the minute, then press ENTER/YES on the remote.
5 Press REC PAUSE/START and then
start playing the desired source to record.
Tips
· When you record on both sides, be sure to start from the top side. If you start from the bottom side, recording stops at the end of the bottom side. · If you select both sides recording and the tape reaches the end of the top side part-way through a track, the entire track is recorded again from the beginning of the bottom side.
5 Set the time to stop recording following
the procedure in step 4. continued
19
Sound Adjustment
Timer recording radio programs (continued)
6 Insert a recordable tape.
Recording starts from the top side. [. . . ] 2 Plug the power cord back into the wall
outlet.
· Refer to General item "There is no sound. " on page 26 and check the condition of the system. · Connect the component properly (see page 23) while checking: if the cords are connected properly. if the cord plugs are firmly inserted all the way. · Turn on the connected component. [. . . ]
DISCLAIMER TO DOWNLOAD THE USER GUIDE SONY CHC-CL3 Lastmanuals offers a socially driven service of sharing, storing and searching manuals related to use of hardware and software : user guide, owner's manual, quick start guide, technical datasheets...manual SONY CHC-CL3


 SONY CHC-CL3 annexe 1 (317 ko)
