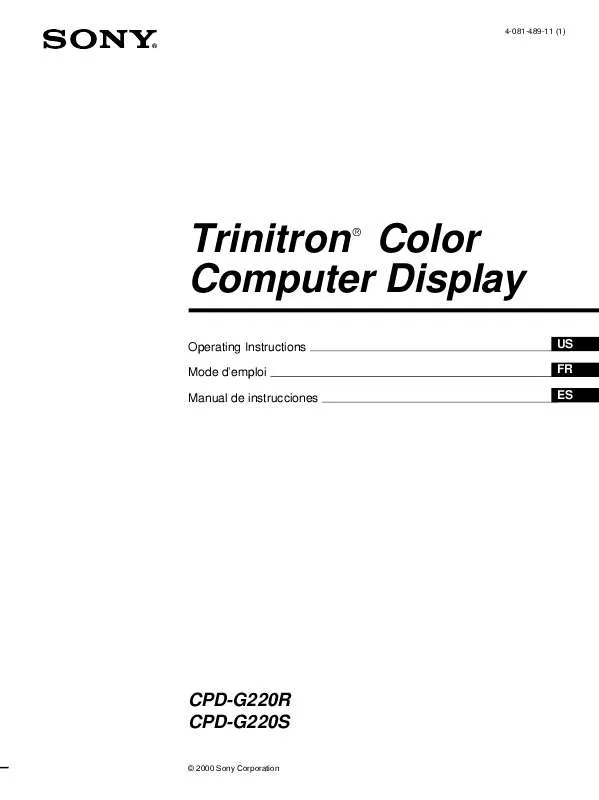
User manual SONY CPD-G220R/L
Lastmanuals offers a socially driven service of sharing, storing and searching manuals related to use of hardware and software : user guide, owner's manual, quick start guide, technical datasheets... DON'T FORGET : ALWAYS READ THE USER GUIDE BEFORE BUYING !!!
If this document matches the user guide, instructions manual or user manual, feature sets, schematics you are looking for, download it now. Lastmanuals provides you a fast and easy access to the user manual SONY CPD-G220R/L. We hope that this SONY CPD-G220R/L user guide will be useful to you.
Lastmanuals help download the user guide SONY CPD-G220R/L.
You may also download the following manuals related to this product:
Manual abstract: user guide SONY CPD-G220R/L
Detailed instructions for use are in the User's Guide.
[. . . ] 4-081-489-11 (1)
Trinitron Color Computer Display
â Operating Instructions Mode d'emploi Manual de instrucciones US FR ES
CPD-G220R CPD-G220S
© 2000 Sony Corporation
Owner's Record
The model and serial numbers are located at the rear of the unit. Record these numbers in the spaces provided below. Refer to them whenever you call upon your dealer regarding this product. Serial No.
NOTICE
This notice is applicable for USA/Canada only. [. . . ] Then move the joystick </, to adjust the convergence.
Changing the OSD language (LANGUAGE)
This setting is stored in memory for the current input signal.
1 Press the MENU/OK button.
The main MENU appears on the screen.
1 Press the MENU/OK button.
The main MENU appears on the screen. COLOR and
2 Move the joystick m/M to highlight
press the MENU/OK button. The COLOR menu appears on the screen.
2 Move the joystick m/M to highlight
LANGUAGE and press the MENU/OK button. The LANGUAGE menu appears on the screen.
3 Move the joystick m/M to select a color temperature.
The preset color temperatures are 5000K and 9300K. Since the default setting is 9300K, the whites will change from a bluish hue to a reddish hue as the temperature is lowered to 5000K.
3 Press the joystick m/M to select the language you
prefer. The OSD automatically disappears after about 30 seconds. To close the OSD, press the MENU/OK button again. For more information about the on-screen languages, see "Changing the OSD language (LANGUAGE)" on page 7.
10
Additional settings (OPTION)
You can manually degauss (demagnetize) the monitor, adjust the moire cancellation level, reset to factory setting, and lock the controls.
Resetting the adjustments
The RESET option erases your customized setting. To restore your monitor to the factory setting, first move the joystick m/M to select 0 (RESET). Then move the joystick , , to reset the adjustment for current input signal. Hold the joystick , for 2 seconds to reset the adjustment for all input signals.
Note When "reset the adjustment for all input signal" is activated, the customized language selection goes back to the default language of English.
1 Press the MENU/OK button.
The main MENU appears on the screen.
2 Move the joystick m/M to highlight
press the MENU/OK button. The OPTION menu appears on the screen.
OPTION and
3 Move the joystick m/M to select the desired
adjustment item. Adjust the selected item according to the following instructions.
Locking the controls
To protect adjustment data by locking the controls, first move the joystick m/M to select (CONTROL LOCK). Only the 1 (power) switch, EXIT, and (CONTROL LOCK) of the OPTION menu will operate. If any other items are selected, the mark appears on the screen.
To cancel the control lock Repeat the procedure above and set
Degaussing the screen
The monitor is automatically demagnetized (degaussed) when the power is turned on. To manually degauss the monitor, first move the joystick m/M to select (DEGAUSS). The screen is degaussed for about 5 seconds. If a second degauss cycle is needed, allow a minimum interval of 20 minutes for the best result.
(CONTROL LOCK) to OFF.
US
Adjusting the moire*
If elliptical or wavy patterns appear on the screen, adjust the moire cancellation level. To adjust the amount of moire cancellation, first move the joystick m/M to select (MOIRE ADJUST). Then move the joystick </, until the moire effect is at a minimum.
* Moire is a type of natural interference which produces soft, wavy lines on your screen. It may appear due to interference between the pattern of the picture on the screen and the phosphor pitch pattern of the monitor. Example of moire
11
Technical Features
Preset and user modes
When the monitor receives an input signal, it automatically matches the signal to one of the factory preset modes stored in the monitor's memory to provide a high quality picture at the center of the screen. [. . . ] The energy requirements include a demand that the computer and/ or display, after a certain period of inactivity, shall reduce its power consumption to a lower level in one or more stages. The length of time to reactivate the computer shall be reasonable for the user. Labelled products must meet strict environmental demands, for example, in respect of the reduction of electric and magnetic fields, physical and visual ergonomics and good usability. Below you will find a brief summary of the environmental requirements met by this product. [. . . ]
DISCLAIMER TO DOWNLOAD THE USER GUIDE SONY CPD-G220R/L Lastmanuals offers a socially driven service of sharing, storing and searching manuals related to use of hardware and software : user guide, owner's manual, quick start guide, technical datasheets...manual SONY CPD-G220R/L


 SONY CPD-G220R/L DATASHEET (510 ko)
