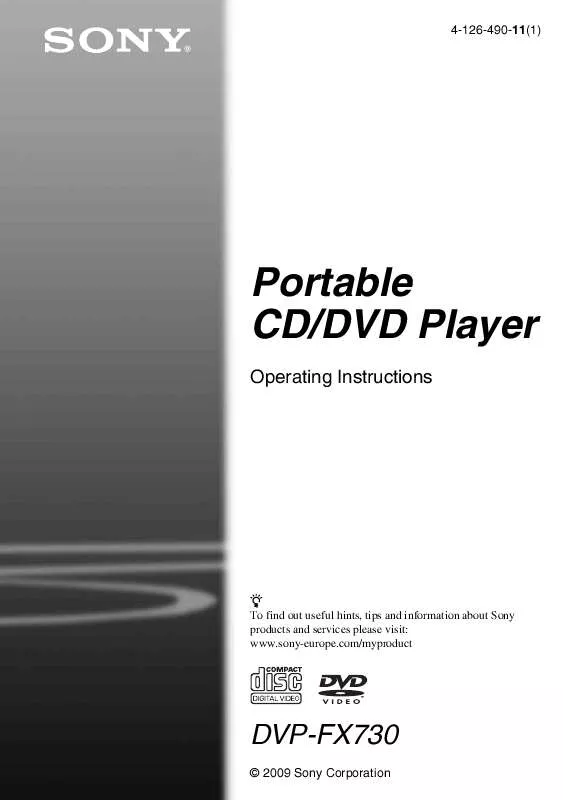
User manual SONY DVP-FX730
Lastmanuals offers a socially driven service of sharing, storing and searching manuals related to use of hardware and software : user guide, owner's manual, quick start guide, technical datasheets... DON'T FORGET : ALWAYS READ THE USER GUIDE BEFORE BUYING !!!
If this document matches the user guide, instructions manual or user manual, feature sets, schematics you are looking for, download it now. Lastmanuals provides you a fast and easy access to the user manual SONY DVP-FX730. We hope that this SONY DVP-FX730 user guide will be useful to you.
Lastmanuals help download the user guide SONY DVP-FX730.
You may also download the following manuals related to this product:
Manual abstract: user guide SONY DVP-FX730
Detailed instructions for use are in the User's Guide.
[. . . ] 4-126-490-11(1)
Portable CD/DVD Player
Operating Instructions
z To find out useful hints, tips and information about Sony products and services please visit: www. sony-europe. com/myproduct
DVP-FX730
© 2009 Sony Corporation
WARNING
To reduce the risk of fire or electric shock, do not expose this apparatus to rain or moisture. To avoid electrical shock, do not open the cabinet. Refer servicing to qualified personnel only. The mains lead must be changed only at a qualified service shop. [. . . ] · Color: Adjust the richness of colours by pressing C/c. · Default: Return all settings to the factory defaults.
4
Press ENTER.
Playback
DISPLAY
MENU
C/X/x/c ENTER
ENTER
RETURN
OPTIONS
VOLUME
OPEN
PUSH CLOSE
1 Press OPTIONS.
The menu display appears.
* In "Normal, " pictures are displayed in their original configuration, retaining the aspect ratio. 4:3 pictures are displayed with black bands on both sides of the screen. 4:3 letter box pictures are displayed with bands on all sides OPTIONS of the screen. RETURN In "Full, " pictures are adjusted to fill the entire screen. 16:9 pictures are displayed in their original configuration. (Black band recorded in a 16:9 picture cannot be erased. ) 4:3 pictures appear stretched.
To turn off the menu display
Press OPTIONS or RETURN twice.
b Depending on the disc, the screen size you can select differs.
2 Press X/x to select "LCD
Mode" and press ENTER.
The "LCD Mode" display appears.
items
LCD Mode LCD Aspect Backlight Contrast Hue Color
Default
Full 10 10 0 10
Select:
ENTER Cancel: RETURN
3 Press X/x to select items and
press ENTER.
· LCD Aspect: Change the picture size. Select "Normal" or "Full" by pressing X/x*. · Backlight: Adjust the brightness by pressing C/c. · Contrast: Adjust the difference between light and dark areas by pressing C/c.
17
Settings and Adjustments
Using the Setup Display
By using the setup display, you can make various settings to items such as picture and sound. Some discs have stored playback settings, which take priority.
INPUT
: General Setup (page 18) Makes the player-related settings. : Audio Setup (page 19) Makes the audio settings according to playback conditions. : Language Setup (page 20) Makes the language settings for the on-screen display or sound track. : Parental Control (page 20) Sets the parental control limit.
4 Select and adjust each of the
following items by pressing X/x and ENTER.
To turn off the setup display
Press OPTIONS or RETURN twice.
DISPLAY
MENU
C/X/x/c ENTER OPTIONS RETURN
ENTER
RETURN
OPTIONS
VOLUME
OPEN
PUSH CLOSE
x
1 Press OPTIONS when the player
is in stop mode.
The menu display appears. During Resume Play, you cannot use the setup display. Press x twice to clear Resume Play, and press OPTIONS.
General Setup
The default settings are underlined.
TV Display (DVD only)
Selects the aspect ratio of the connected TV.
4:3 Pan Scan Select this when you connect a 4:3 screen TV. Automatically displays a wide picture on the entire screen and cuts off the portions that do not fit. Select this when you connect a 4:3 screen TV. Displays a wide picture with bands on the upper and lower portions of the screen. Select this when you connect a wide-screen TV or a TV with a wide mode function.
2 Press X/x to select "Setup, "
and press ENTER.
The setup display appears.
setup category
General Setup TV Display Angle Mark Screen Saver PBC DivX Default 16 : 9 On On On
items
4:3 Letter Box
16:9
Select:
ENTER Cancel: RETURN
3 Press X/x to select the setup
category and press ENTER.
18
4:3 Pan Scan
On
By the PBC function, you can play back VIDEO CDs via the menu screen. Turn off the PBC function.
Off
4:3 Letter Box
DivX
Displays the registration code for the player. For more information, go to http://www. divx. com on the Internet.
16:9
Default
Each function returns to its original factory settings. [. . . ] Depending on the DivX/MPEG-4 video file, normal playback may not be possible. The picture may be unclear, playback may not appear smooth, the sound may skip, etc. You are recommended to create the file at a lower bit rate. If the sound is still noisy, check the audio format. [. . . ]
DISCLAIMER TO DOWNLOAD THE USER GUIDE SONY DVP-FX730 Lastmanuals offers a socially driven service of sharing, storing and searching manuals related to use of hardware and software : user guide, owner's manual, quick start guide, technical datasheets...manual SONY DVP-FX730


 SONY DVP-FX730 annexe 2 (2762 ko)
 SONY DVP-FX730 annexe 4 (865 ko)
 SONY DVP-FX730 annexe 3 (848 ko)
 SONY DVP-FX730 annexe 1 (11307 ko)
 SONY DVP-FX730 DATASHEET (354 ko)
