User manual SONY SEL1635GM
Lastmanuals offers a socially driven service of sharing, storing and searching manuals related to use of hardware and software : user guide, owner's manual, quick start guide, technical datasheets... DON'T FORGET : ALWAYS READ THE USER GUIDE BEFORE BUYING !!!
If this document matches the user guide, instructions manual or user manual, feature sets, schematics you are looking for, download it now. Lastmanuals provides you a fast and easy access to the user manual SONY SEL1635GM. We hope that this SONY SEL1635GM user guide will be useful to you.
Lastmanuals help download the user guide SONY SEL1635GM.
Manual abstract: user guide SONY SEL1635GM
Detailed instructions for use are in the User's Guide.
[. . . ] For further information on compatibility, visit the web site of Sony in your area, or consult your dealer of Sony or local authorized service facility of Sony. (マウント標点) を 2 レンズとカメラの白の点
FE 16-35mm F2. 8 GM
E-mount
SEL1635GM
合わせてはめ込み、 レンズを軽くカメラに押 し当てながら、 時計方向に 「カチッ」 とロック がかかるまでゆっくり回す。
To switch AF (auto focus)/ MF (manual focus)
The focus mode can be switched between AF and MF on the lens. [. . . ] To use a camera equipped with an AF/MF control button
ˎˎBy pressing the AF/MF control button during AF
レンズフードの赤 ˎˎPressing the AF/MF control button during MF
operation lets you temporarily switch to AF if the lens is set to AF and the camera to MF. Notes on Use
ˎˎWhen carrying a camera with the lens attached,
Using the Focus Hold Buttons
ˎˎThe focus hold button of this lens does not function
(2)
always firmly hold both the camera and the lens. ˎˎDo not hold by the part of the lens that protrudes
取りはずしかた
レンズフードのフード取りはずしボタンを押し ながら、 反時計方向に回してはずす。
when zooming. ˎˎThis lens is not water-proof, although designed with dust-proofness and splash-proofness in mind. For further information on compatibility, visit the web site of Sony in your area, or consult your dealer of Sony or local authorized service facility of Sony. Precautions on using a flash
ˎˎWhen using a flash, always remove the lens hood and
©2016 Sony Corporation Printed in Thailand
ズームする
ズームリングを回して、 希望の焦点 離 (ズーム の位置) に合わせる。
shoot at least 1 m (3. With certain combinations of lens and flash, the lens may partially block the light of the flash, resulting in a shadow at the bottom of the picture. press the focus hold button in AF to cancel AF. The focus is fixed and you can release the shutter on the fixed focus. Release the focus hold button while pressing the shutter button halfway to start AF again. Specifications
Product name (Model name) Focal length (mm) 35mm equivalent focal length*1 (mm) Lens groups-elements Angle of view 1*2 Angle of view 2*2 Minimum focus*3 (m (feet)) Maximum magnification (X) Minimum aperture Filter diameter (mm) Dimensions (maximum diameter × height) (approx. 6 (3 1/2 x 4 7/8) 680 (24) No
Vignetting
ˎˎWhen using the lens, the corners of the screen
ピントを合わせる
•• 本製品のフォーカスモードスイッチは、 一部のカメラ本 体においてお使いになれません。 •
become darker than the center. To reduce this phenomena (called vignetting), close the aperture by 1 to 2 stops. Ό Identifying the Parts
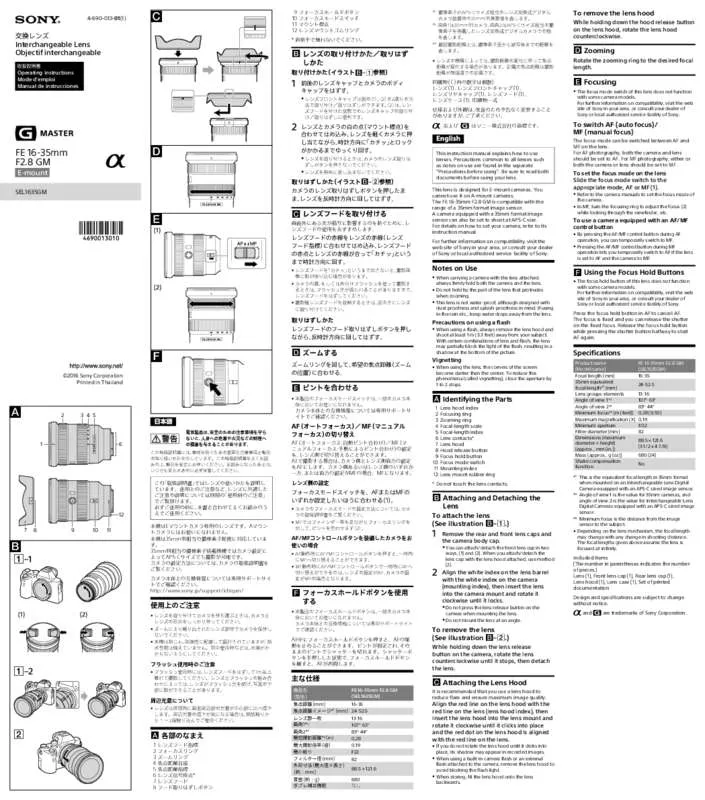
1 Lens hood index 2 Focusing ring 3 Zooming ring 4 Focal-length scale 5 Focal-length index 6 Lens contacts* 7 Lens hood 8 Hood release button 9 Focus hold button 10 Focus mode switch 11 Mounting index 12 Lens mount rubber ring * Do not touch the lens contacts. Jp/support/ichigan/
レンズ側の設定
フォーカスモードスイッチを、AFまたはMFの いずれか設定したいほうに合わせる 。 (1)
•• カメラのフォーカスモードの設定方法については、 カメ ラの取扱説明書をご覧ください。 •• MFではファインダー等を見ながらフォーカスリングを 回して、 ピントを合わせます (2) 。
Attaching and Detaching the Lens To attach the lens (See illustration –. )
–1
AF/MFコントロールボタンを装備したカメラをお 使いの場合
•• AF動作時にAF/MFコントロールボタンを押すと、 一時的 にMFへ切り替えることができます。 •• MF動作時にAF/MFコントロールボタンで一時的にAFへ 切り替えができるのは、 レンズの設定がAF、 カメラの設 定がMFの場合となります。
1
Remove the rear and front lens caps and the camera body cap. ˎˎ You can attach/detach the front lens cap in two ways, (1) and (2). When you attach/detach the lens cap with the lens hood attached, use method (2). [. . . ] 19 F22
Attaching the Lens Hood
It is recommended that you use a lens hood to reduce flare and ensure maximum image quality. Ǝ点* 7 レンズフード 8 フード取りはずしボタン
Align the red line on the lens hood with the red line on the lens (lens hood index), then insert the lens hood into the lens mount and rotate it clockwise until it clicks into place and the red dot on the lens hood is aligned with the red line on the lens. ˎˎIf you do not rotate the lens hood until it clicks into
place, its shadow may appear in recorded images. [. . . ]
DISCLAIMER TO DOWNLOAD THE USER GUIDE SONY SEL1635GM Lastmanuals offers a socially driven service of sharing, storing and searching manuals related to use of hardware and software : user guide, owner's manual, quick start guide, technical datasheets...manual SONY SEL1635GM


