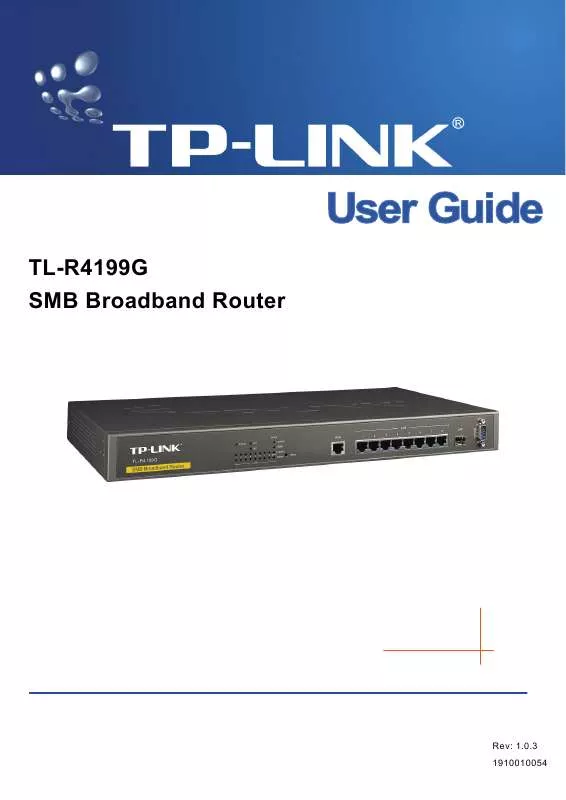
User manual TP-LINK TL-R4199G
Lastmanuals offers a socially driven service of sharing, storing and searching manuals related to use of hardware and software : user guide, owner's manual, quick start guide, technical datasheets... DON'T FORGET : ALWAYS READ THE USER GUIDE BEFORE BUYING !!!
If this document matches the user guide, instructions manual or user manual, feature sets, schematics you are looking for, download it now. Lastmanuals provides you a fast and easy access to the user manual TP-LINK TL-R4199G. We hope that this TP-LINK TL-R4199G user guide will be useful to you.
Lastmanuals help download the user guide TP-LINK TL-R4199G.
Manual abstract: user guide TP-LINK TL-R4199G
Detailed instructions for use are in the User's Guide.
[. . . ] TL-R4199G SMB Broadband Router
Rev: 1. 0. 3 1910010054
COPYRIGHT & TRADEMARKS
Specifications are subject to change without notice. registered trademarks of their respective holders. No part of the specifications may be reproduced in any form or by any means or used to make any derivative such as translation, transformation, or adaptation without permission from TP-LINK TECHNOLOGIES CO. , LTD. Copyright © 2008 TP-LINK TECHNOLOGIES CO. , LTD. [. . . ] Enabled means that the rule will take effect, Disabled means that the rule will not take effect. Once configured, the operation for Port Triggering will proceed as follows: Step 1: A local host makes an outgoing connection using a destination port number defined in the Trigger Port field. Step 2: The router records this connection, opens the incoming port or ports associated with this entry in the Port Triggering table, and associates them with the local host. Step 3: When necessary, the external host will be able to connect to the local host using one of the ports defined in the Incoming Ports field. To add/modify a port triggering entry: Step 1: Click Add New. . . /Modify shown in Figure 4-22, you will see a new screen shown in Figure 4-23. Step 2: Select the application you want from the "Common Applications", then the Trigger port and Incoming ports will be added to the corresponding field automatically, you only need to configure the Trigger protocol and Incoming Protocol for the entry; If the "Common Applications" does not contain the applications that you want, please configure these options manually.
33
TL-R4199G
SMB Broadband Router User Guide
Figure 4-23 Step 3: After that, select Enabled to make the entry take effect. Step 4: Click Save button to save the configuration. Note: 1) 2) 3) 4) If you want to add more than one reserved IP, please go to step 1 to continue. When the trigger connection is released, the according opening ports will be closed. Each rule allowed to be used only by one host on LAN synchronously. The trigger connection of other hosts on LAN will be refused. Incoming Port Range cannot overlap each other.
Other configurations for the entries as shown in Figure 4-23: Click the Delete button to delete the entry. Click the Enable All button to enable all the entries. Click the Disable All button to disable all the entries. Click the Delete All button to delete all the entries. Click the Previous button to view the information in the previous screen, click the Next button to view the information in the next screen.
4. 5. 3
DMZ
Choose menu "ForwardingDMZ", you can view and configure DMZ host in the screen (shown in Figure 4-24). The DMZ host feature allows one local host to be exposed to the Internet for a special-purpose service such as Internet gaming or videoconferencing. DMZ host forwards all the ports at the same time. Any PC whose port is being forwarded must have its DHCP client function disabled and should have a new static IP address assigned to it because its IP address may change when using the DHCP function.
34
TL-R4199G
SMB Broadband Router User Guide
Figure 4-24 To assign a computer or server to be a DMZ server: Step 1: Click the Enable radio button Step 2: Enter the local host IP address in the DMZ Host IP Address field Step 3: Click the Save button. Note: After you set the DMZ host, the firewall related to the host will not take effect.
4. 5. 4
UPnP
Choose menu "ForwardingUPnP", you can view the information about UPnP in the screen (shown in Figure 4-25). You can click Refresh to update the Current UPnP Settings List before viewing the information. The Universal Plug and Play (UPnP) feature allows the devices, such as Internet computers, to access the local host resources or devices as needed. [. . . ] Step 2: Some ISPs require that you register the MAC address of your adapter, which is connected to your cable or DSL modem during installation. If your ISP requires MAC register, login to the router and click the menu NetworkMAC Clone. On the MAC Clone screen, if your PC's MAC address is a proper MAC address, click the "Clone MAC Address" button and your PC's MAC address will be filled in the "WAN MAC Address" field; Or else, enter the specific MAC address into the "WAN MAC Address" field manually. It will take effect after rebooting.
Figure B-3 3. [. . . ]
DISCLAIMER TO DOWNLOAD THE USER GUIDE TP-LINK TL-R4199G Lastmanuals offers a socially driven service of sharing, storing and searching manuals related to use of hardware and software : user guide, owner's manual, quick start guide, technical datasheets...manual TP-LINK TL-R4199G


