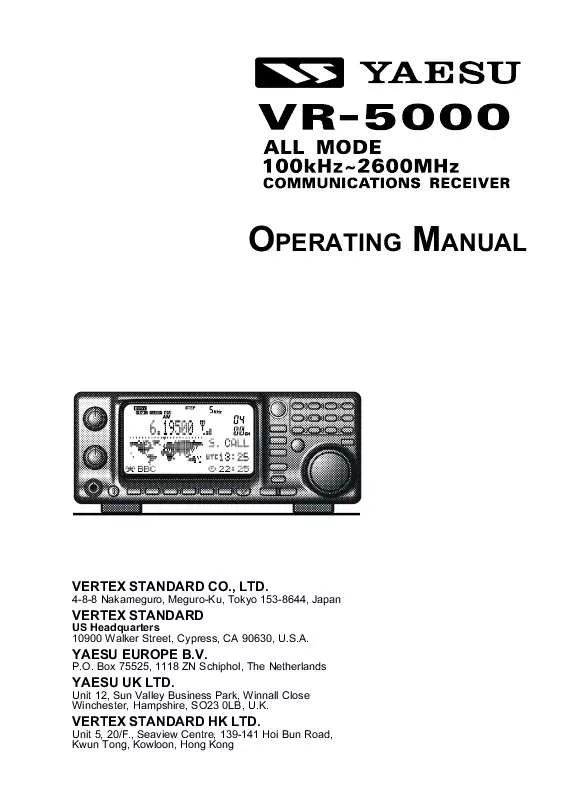
Detailed instructions for use are in the User's Guide.
[. . . ] OPERATING MANUAL
VERTEX STANDARD CO. , LTD.
4-8-8 Nakameguro, Meguro-Ku, Tokyo 153-8644, Japan
VERTEX STANDARD
US Headquarters 10900 Walker Street, Cypress, CA 90630, U. S. A.
YAESU EUROPE B. V.
P. O. Box 75525, 1118 ZN Schiphol, The Netherlands
YAESU UK LTD.
Unit 12, Sun Valley Business Park, Winnall Close Winchester, Hampshire, SO23 0LB, U. K.
VERTEX STANDARD HK LTD.
Unit 5, 20/F. , Seaview Centre, 139-141 Hoi Bun Road, Kwun Tong, Kowloon, Hong Kong
Contents
Introduction . . . . . . . . . . . . . . . . . . . . . . . . . . . . . . . . . . . . . . . . . . 1
Supplied Accessories . . . . . . . . . . . . . . . . . . . . . . . . . . . . . . . . . . 1 Available Option . . . . . . . . . . . . . . . . . . . . . . . . . . . . . . . . . . . . . . . . . [. . . ] Press the [F] key momentarily, then press the [V/M(MW)] key. Rotate the DIAL knob to set the cursor to the "Channel" menu option, then press the [ENT(SET)] key. Using the [ ( )/ ( )] keys or the keypad, select the memory bank on which you wish to perform VOICE scanning, then press the [BANK] key. Rotate the DIAL knob to set the cursor to the "VCS" menu option, then press the [ · (BEEP)] key to enable VOICE scanning. Rotate the DIAL knob to set the cursor to the "E N D " m e n u o p t i o n , t h e n p r e s s t h e [ENT(SET)] key. Confirm that the cursor is on the "WRITE" menu option, then press the [ENT(SET)] key to save the new setting and exit to normal operation.
Setting the Scan-Resume Technique
Three options for the Scan-Resume technique are available. These options may be set independently for Memory Scan, VFO Scan, and PMS (Band-Segment) Scan operation. DELAY: In this mode, the scanner will halt on a signal it encounters, and will hold until the signal disappears. After the squelch closes when the received station quits transmitting, scanning resumes automatically. The scanning-restart delay time (default interval: 2 seconds) is set by the "M-P. DELAY" menu selection. PAUSE: In this mode, the scanner will halt on a signal it encounters. After a programmed time interval (set by the "M-PAUSE" menu selection), the scanner will resume, whether or not the signal has disappeared. HOLD: In this mode, the scanner will halt on a signal it encounters. It will not restart automatically; you must manually re-initiate scanning if you wish to resume. However, the "M-HOLD" menu selection provides a "restart" window within which, if the incoming signal disappears, the scanner will resume; this allows scanning to proceed if the squelch is opened by a brief incoming signal burst. Here is the procedure for setting up the Scan-Resume mode for Memory scanning: 1. Press the [V/M(MW)] key, if necessary, to enter the "MR" (Memory Recall) mode. Use the [ ( )/ ( )] keys to select the desired memory bank. Press the [BANK] key, then rotate the dial to select the "ScanStop" menu option. Press the [ · (BEEP)] key, repeatedly if necessary, to select "DELAY, " "PAUSE, " or "HOLD, " as desired. Rotate the DIAL knob to select "END, " then press the [ENT(SET)] key. The display should now indicate "WRITE;" press the [ENT(SET)] key again to save the new setting and exit to normal operation .
VR-5000 OPERATING MANUAL
31
Scanning
Here is the procedure for setting up the Scan-Resume mode for VFO scanning: 1. [. . . ] Opcode Command Data
Command Tittel CAT ON/OFF Set Frequency Receiving Mode Receiver Status Note 1: F1 M1 Parameters F2 M2 F3 F4 Opcode P1 P1 P1 E7 Comments P1= 00: ON, P1 = 80: OFF P1= 01: MAIN VFO P1= 31: SUB VFO P1= 07: MAIN VFO P1= 37: SUB VFO S-Meter, Squelch, etc.
Note 1 Note 2 Note 3
Note 2: 00 01 02 04
F1 ~ F4 = Frequency Digits (HEX), Example: 439. 70 MHz = 02, 9E, ED, D0 F1, F2, F3, F4 Receiving Mode/Channel Step Parameter Codes WAM WFM AM-N FM-N 21 02 42 03 20 Hz 100 Hz 500 Hz 1 kHz 43 53 63 04 M2 5 kHz 05 6. 25 kHz 45 9 kHz 14 10 kHz 24 100 kHz 500 kHz 12. 5 kHz 20 kHz 34 44 25 kHz 50 kHz
M1 LSB 44 USB 48 CW 84 AM 88
Note 3:
Receiver Status 76543210 S-Meter Data Squelch Data 0 = Squelch OFF 1 = Squelch ON
VR-5000 OPERATING MANUAL
55
Reset
MICROPROCESSOR RESETTING
1. Press and hold the [CLR(PRI CLR)] key while turing the Radio ON. Press the [ENT(SET)] key to reset the all setting to their factory defaults (press the [CLR(PRI CLR)] key to cancel the Reset procedure).
56
VR-5000 OPERATING MANUAL
Installation of the Optional Accessories
VOICE SYNTHESIZER UNIT (DSP-1)
1. Remove the four screws affixing the bottom cover, then remove the bottom cover (see Figure 1). [. . . ]


 YAESU VR-5000 BROCHURE (7748 ko)
